Step 6: Adding the sky
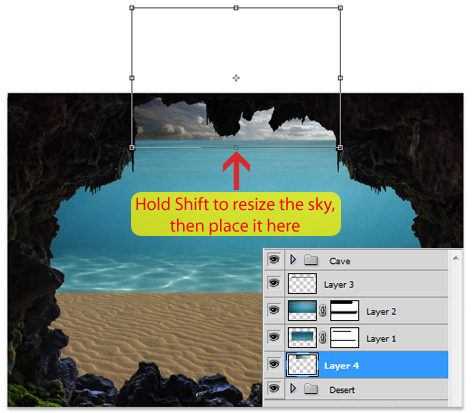
Open the sky stock, select all of it (Ctrl/Cmd+A) and copy and paste it into our project.
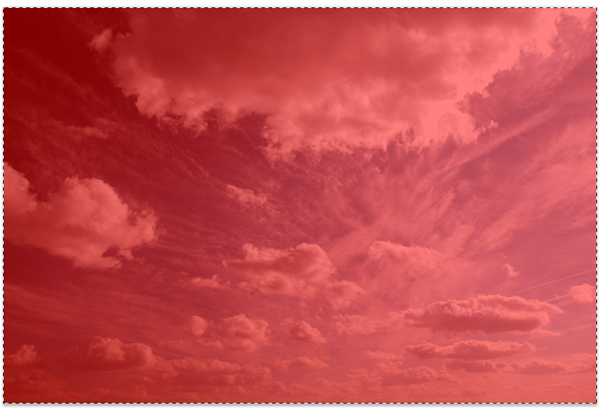
Place the sky below all the underwater layers and resize it with the
Free Transform Tool (Ctrl/Cmd+T). Remember to hold Shift while doing it.
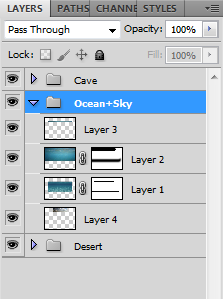
To finish off, add these four layers to a new group called Ocean+Sky (Ctrl/Cmd+G).
Step 7: Adding some shadows
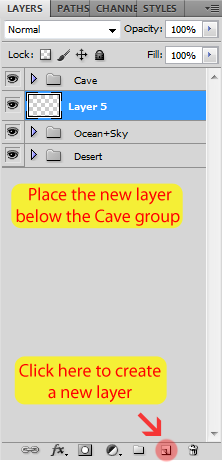
Create a new layer and place it below our Cave group.
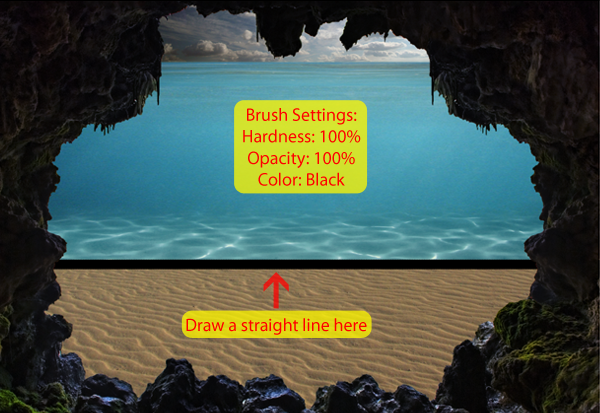
With a hard brush (Shortcut: B), draw a straight line right where the ocean starts after the desert.
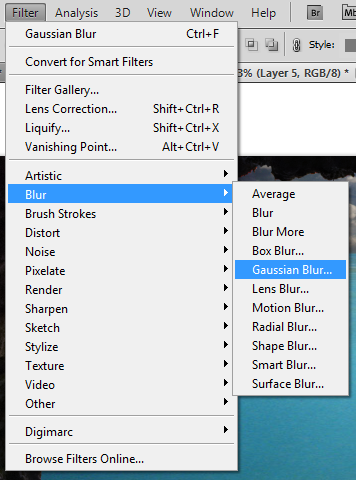
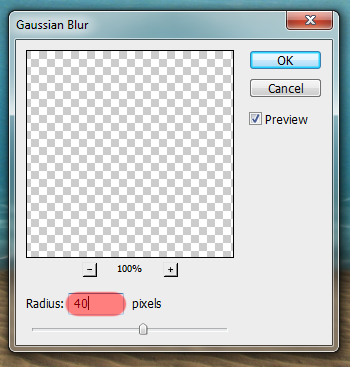
Now go to Filter > Blur > Gaussian Blur and set the radius to 40px.
Here is the result:
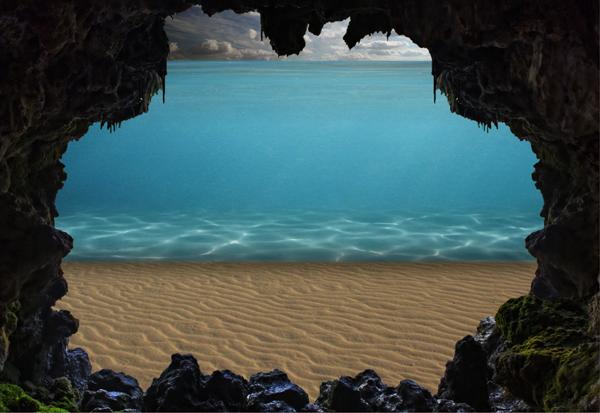
Now that the main shadow is done, select a soft brush (Shortcut: B)
and start painting some more shadows in the image (see image below for
reference).
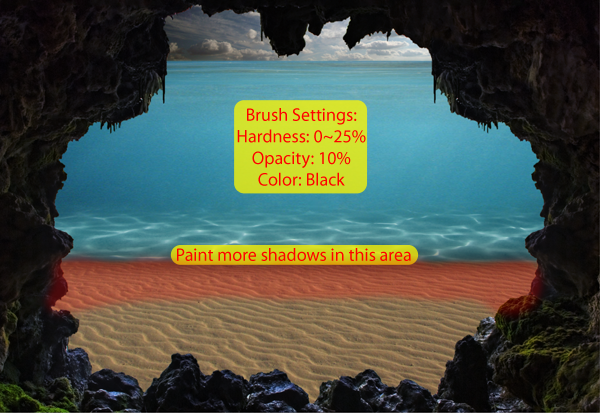
Here is my image with the shadow layer done:
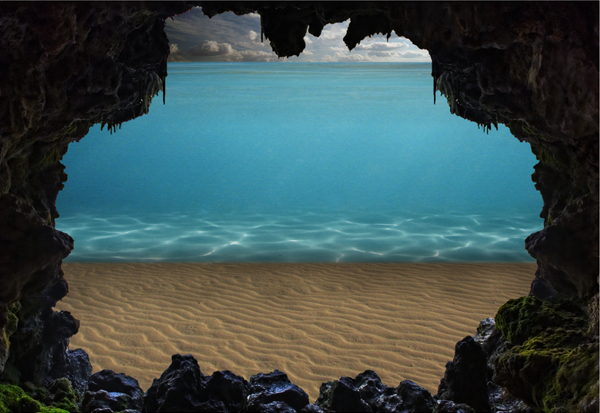
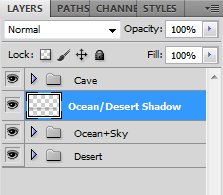
Rename this layer to Ocean/Desert Shadow and we’re done.
Step 8: Adding the fishes
Open the fish pack and select them with the Quick Selection Tool
(Shortcut: W). We’re going to use three of them, the smaller one
(Underwater_(03)) won’t be used.
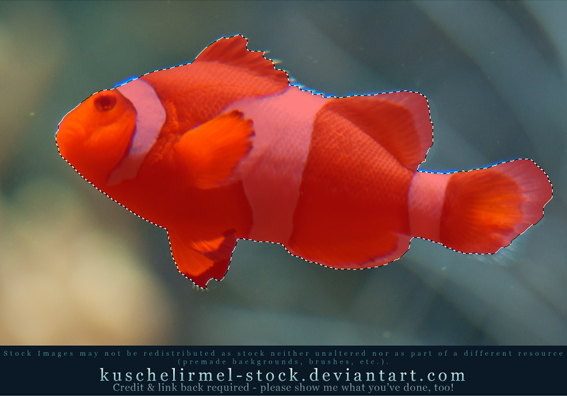
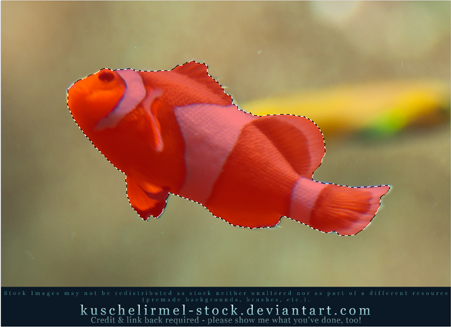
Don’t worry too much about the details because they will be really small in our final image. Here’s how I extracted them.
Fish 1:
Fish 2:
Fish 3:
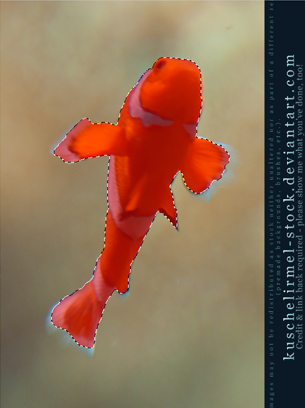
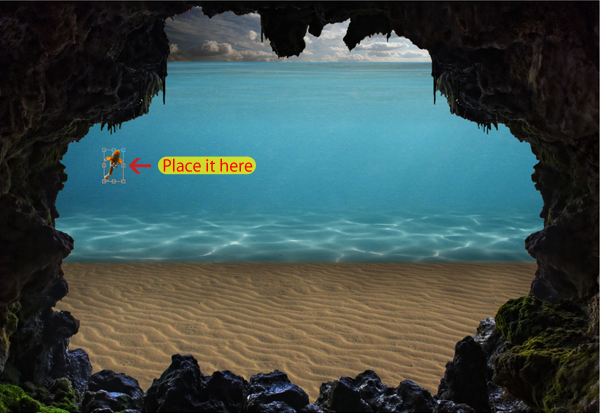
Let’s start with fish number 3. Copy and paste it into our project
and use the Free Transform Tool (Ctrl/Cmd+T) while holding the Shift key
to resize it.
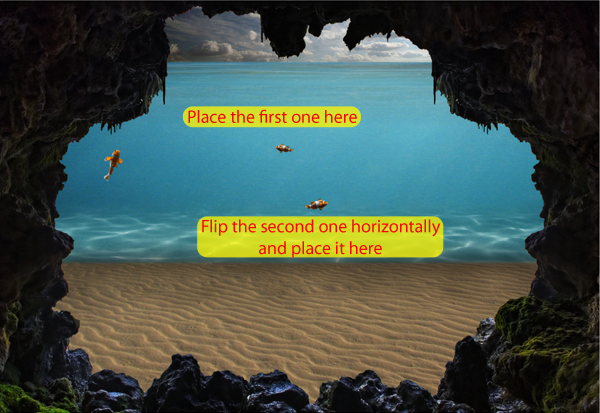
Now go to fish number 1, copy and paste it two times into our project
and resize them using the Free Transform Tool (Ctrl/Cmd+T). Remember to
hold Shift while resizing.
Flip one of them horizontally the same way we did before, go to Edit > Transform > Flip Horizontal.
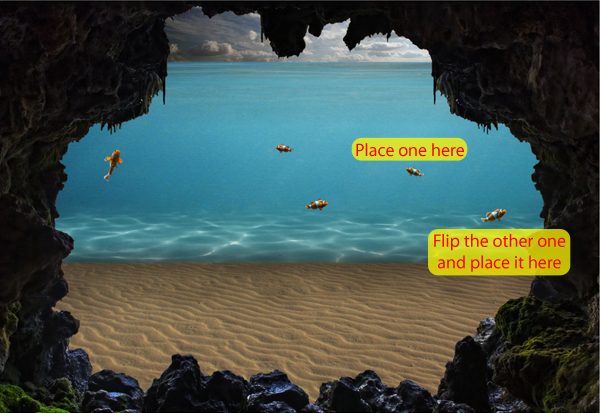
Copy and paste fish number 2 into our project two times. Resize them
using the Free Transform Tool (while holding the Shift key) and flip one
of them horizontally like we did with fish number 1 (Edit >
Transform > Flip Horizontal).
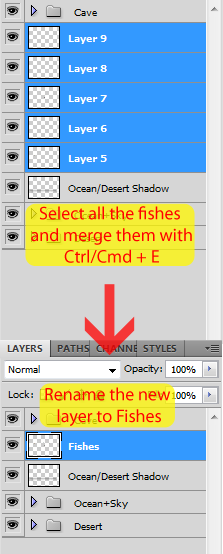
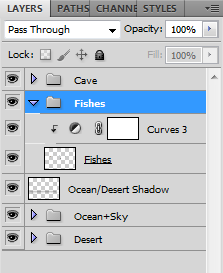
After all the fishes have been placed, select them and merge them (Ctrl/Cmd+E) in a new layer called Fishes.
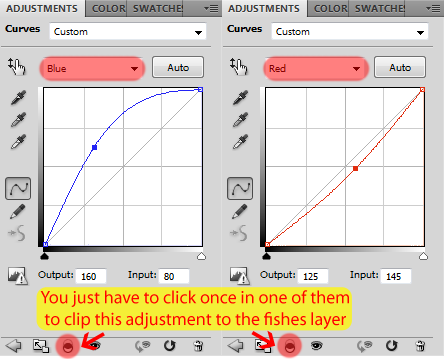
To take off some of the redness of the fishes, create a new Curves
Adjustment Layer like we did before (click in ‘Create a New Filter or
Adjustment Layer’ and select ‘Curves’). Change the Blue and Red curves
and clip this adjustment to the fishes layer by clicking in the button
next to the little eye (you just have to click once to clip it).
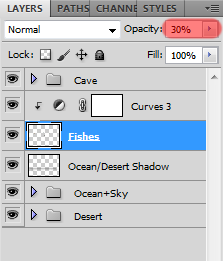
To finish the fishes, select their layer and lower the opacity to around 30%.
Here is how your image should look like with the fishes added:
To clean our workspace, select the Fishes and the Curves adjustment
layer and add them to a new group called Fishes (Ctrl/Cmd+G).
Step 9: Add some light effects to the background
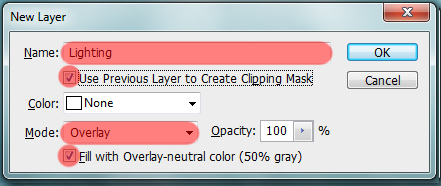
Create a new layer by hitting Ctrl/Cmd + Shift + N. In the New Layer
window that appeared, change the name of the new layer to ‘Lighting’,
the mode to Overlay and check the button to fill the layer with 50%
gray.
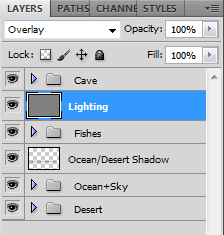
Place the new layer right below the Cave group (it will affect all the layers below it).
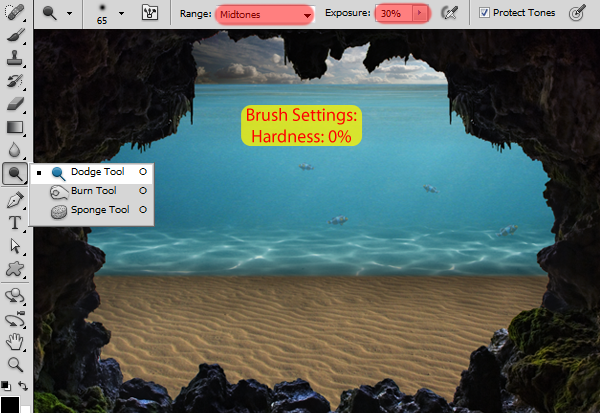
Select the Dodge Tool (Shortcut: O), set Range to Midtones, the Exposure to 30% and start painting this layer.
This is an important and complicated step so here are some tips on how to use the Dodge/Burn Tool:
- The Dodge Tool will make the place you paint brighter
- The Burn Tool will make the place you paint darker
- To quickly change between them hold Alt/Option, this will change the tools as long as you hold the Alt/Option key
- If you made a mistake and it’s too late to undo the changes don’t worry, just select the Brush Tool and paint the area of the layer you want to “reset” with gray again (#808080)
And here is some tips on how to do the lighting of this scene:
- The main idea is to make the bright places brighter, and the dark places darker.
- Imagine a sun in the middle of the sky and think about how it would affect the fishes
- Use a really small brush and zoom in closely while dealing the fishes
- Try to use large brushes in the ocean to make it look more natural
- Make the left side of the sky darker, and the right side brighter
- Increase the shadow of the ‘ocean wall’ in the desert
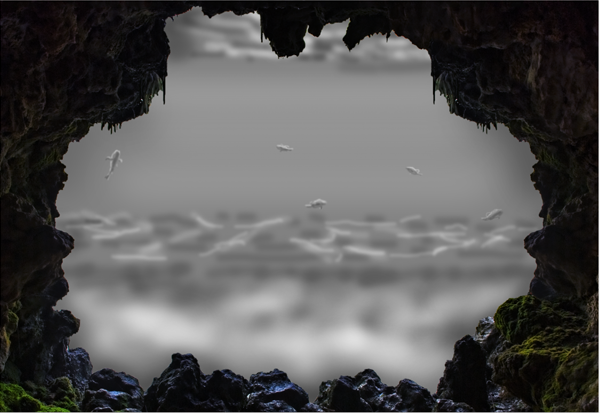
Here is my Lighting layer in the Normal mode, so you can use as reference:
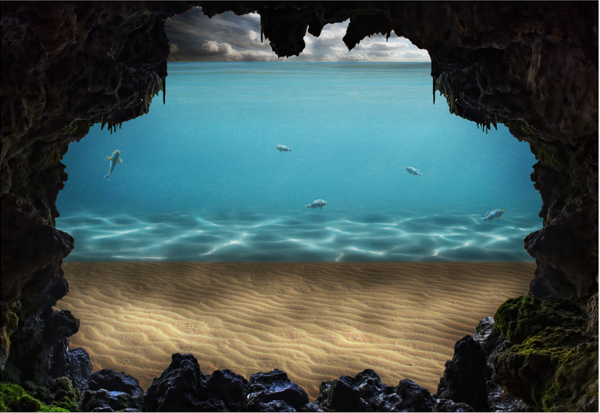
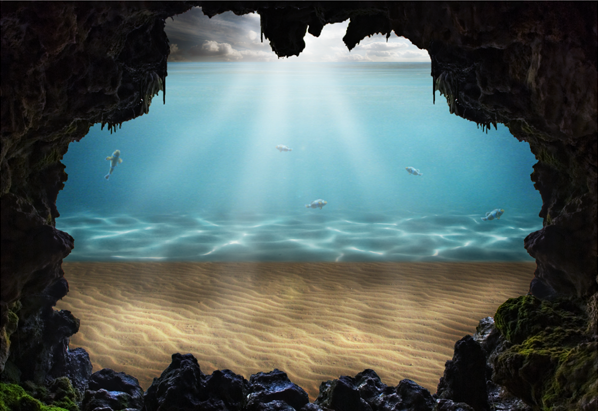
And here is the final result:
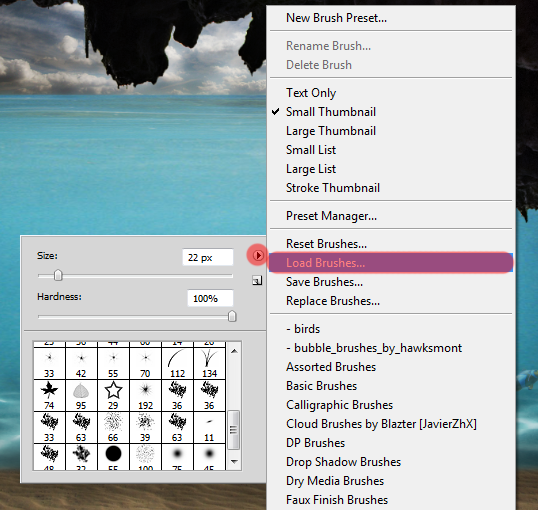
Now load the Light Beam Brushes in photoshop. If you don’t know how
to do this read the step-by-step below, if you already know how to do
this you can skip to the next part.
- Download the .rar file and unpack it anywhere in your computer
- Take the .abr you just extracted and move it to your Adobe/Adobe Photoshop(…)/Presets/Brushes folder
- Go back to photoshop, select the brush tool and right click anywhere in your canvas
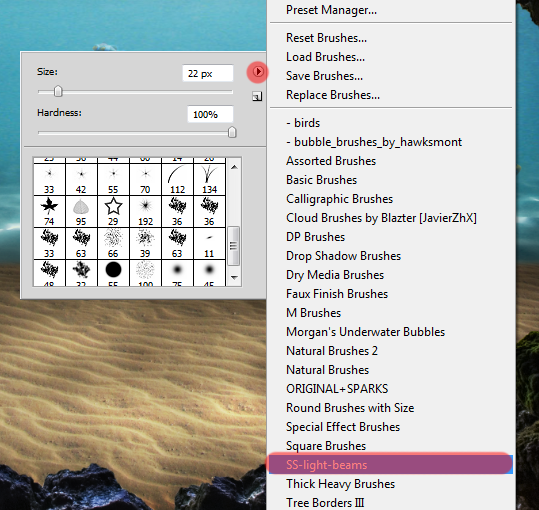
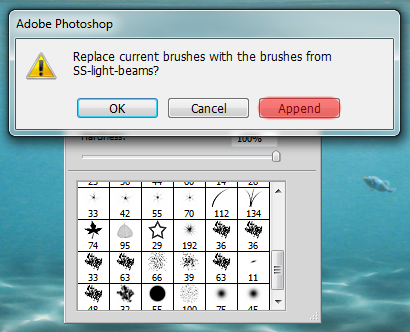
- To select your brush, click in the little arrow in the top right corner and check to see if the brush is on the list
- If it is, just select it and click in Append
- If it isn’t, you’ll have to click in ‘Load Brushes’ and search for the brush in your computer. Once you found it, the brushes will be appended to your current list of brushes automatically
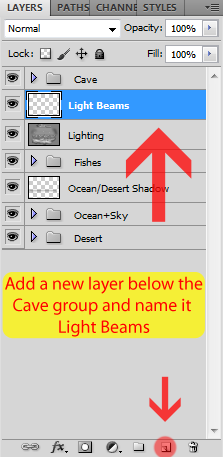
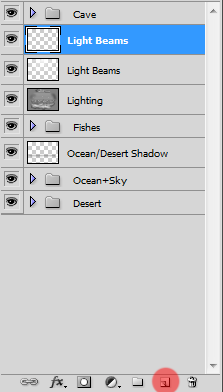
After you loaded the Light Beam Brushes in photoshop, create a new layer above the Lighting layer and name it ‘Light Beams’.
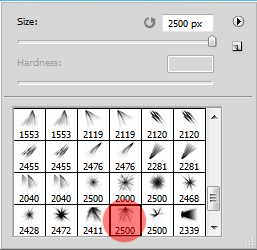
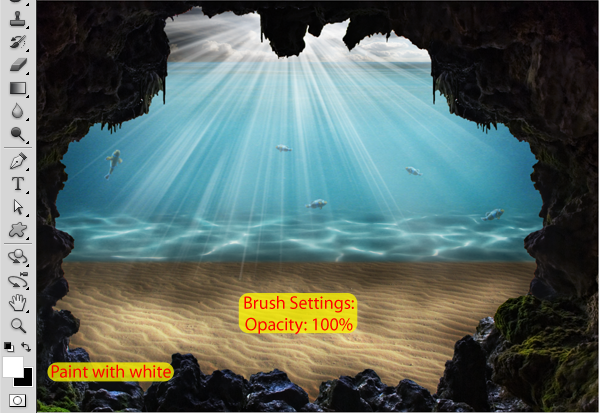
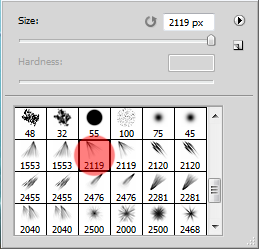
Select the brush highlighted in the image below, select the white
color, and click on the top center of the image to make some light
beams.
Resize the brush if needed
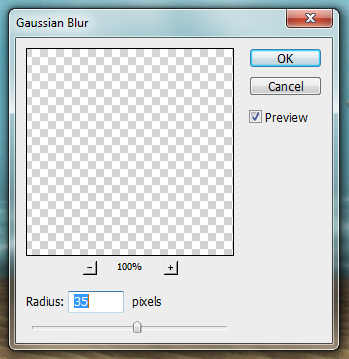
Go to Filter > Blur > Gaussian Blur and set the radius to 35px.
The result:
Create a new layer to add more light beams just like we did with the
other one. Place it above our previous Light Beam layer and also name it
‘Light Beams’.
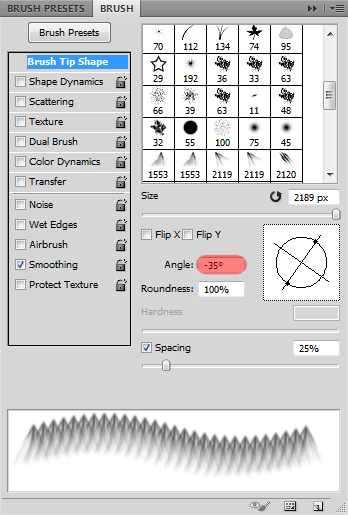
Select the brush highlighted below and hit F5 to bring the Brush panel. Change the angle of the brush to -35º.
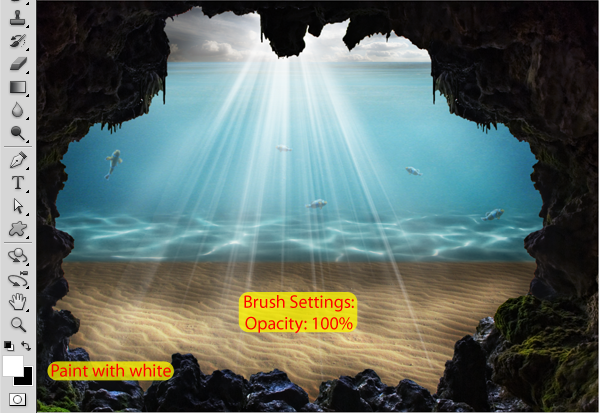
Now do the exact same thing we did before, click in the screen just once with these settings.
- Again, change the size of the brush if you have to
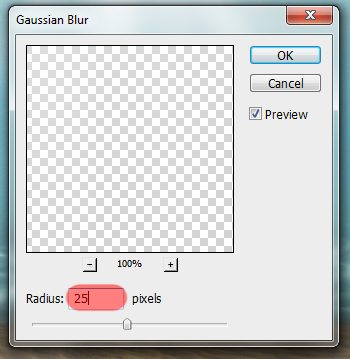
Go to Filter > Blur > Gaussian Blur again and set the radius to 25px this time.
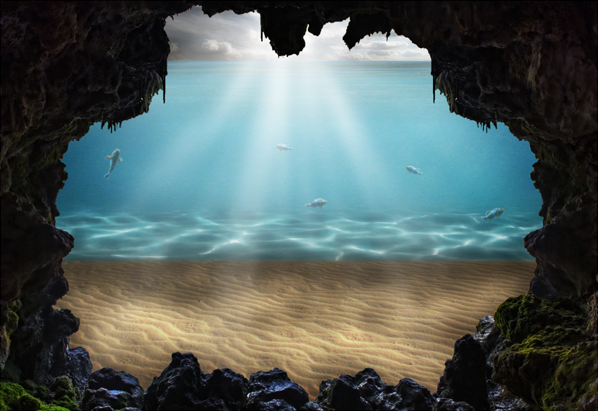
And here is the result:
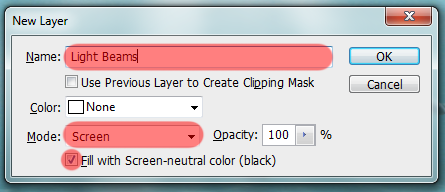
To finish the light beams, create a new layer by pressing
Ctrl/Cmd+Shift+N, change the name of the new layer to ‘Light Beams’
again, set the mode to Screen and check the button to fill the screen
with black.
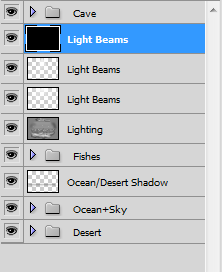
Make sure this layer is above the other light beams.
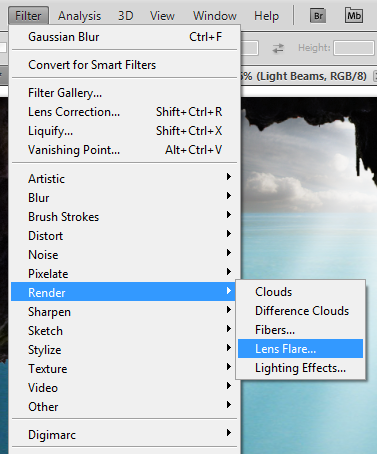
Go to Filter > Render > Lens Flare.
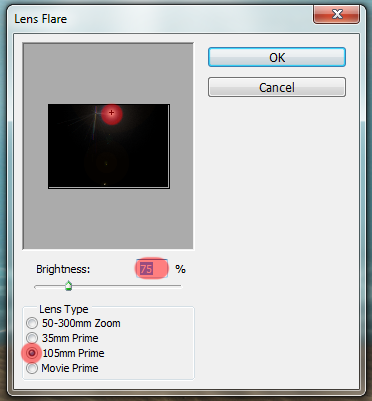
Set the Brightness to 75%, select 105mm Prime and click on the top of the black box, in the center, like this:
Here is the result:
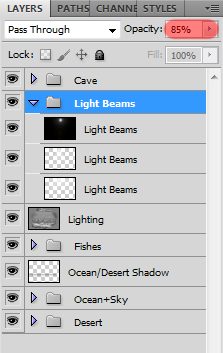
Now group the three Light Beams layers in a new group called Light
Beams (really original) and set the opacity of this group to around 85%.
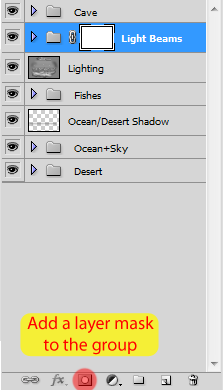
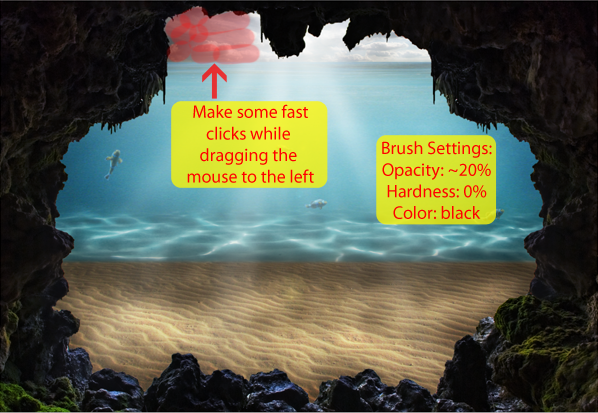
The last thing to do here is to add a layer mask to this group and paint the left side of the sky with black.
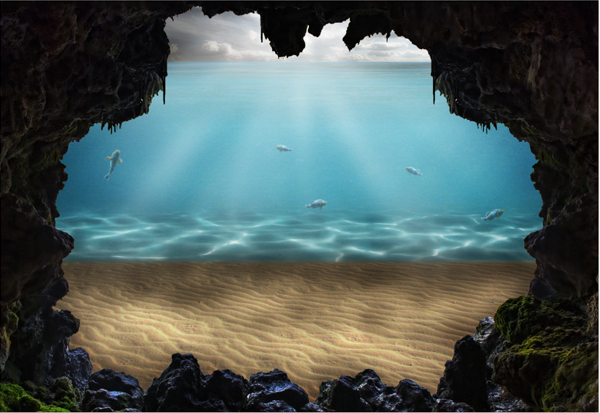
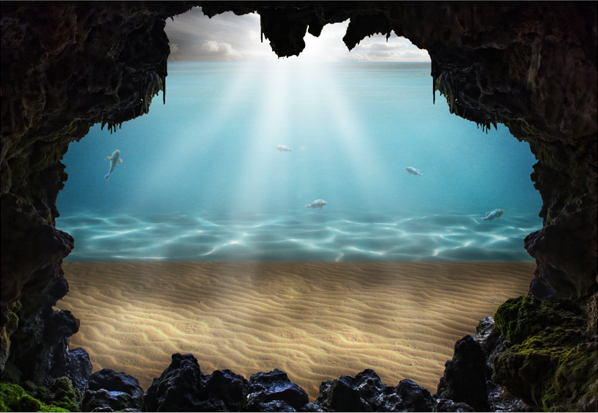
And here is the result:



0 comments:
Posting Komentar