Step 18: Add some sparks
It’s been a long tutorial but we’re finally starting to enter the
final steps. We’re done with adding new images and elements into our
image, in this step we’re just going to add some small details.
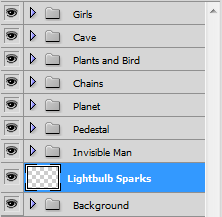
Create a new layer through the shortcut Ctrl/Cmd+Shift+Alt/Opt+N and
name it ‘Lightbulb Sparks’. Place it between the ‘Invisible Man’ and the
‘Background’ group.
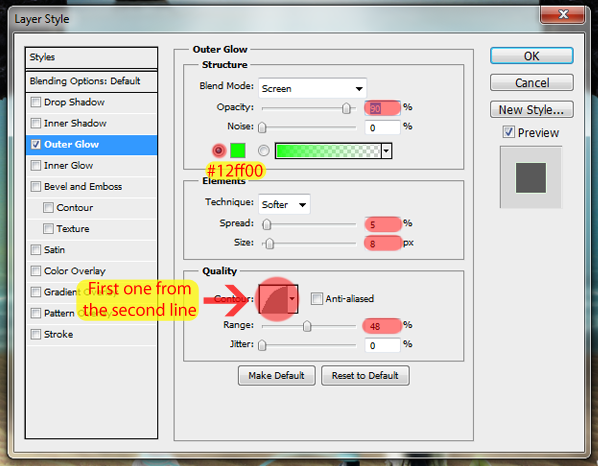
Before we start, let’s add the layer style we’re going to need. Double click this layer and add an Outter Glow like this:
Now select a simple brush and go to the Brush pannel (if you don’t
see it go to Window > Brush). Now add some styles following the
images below:
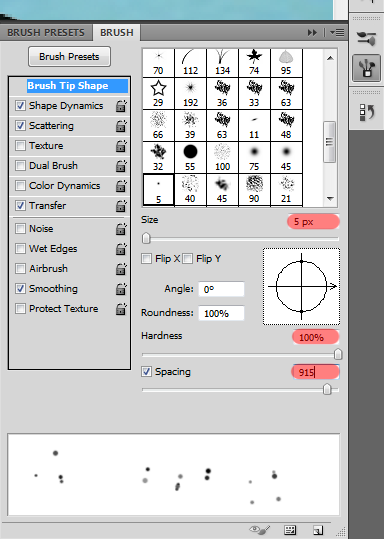
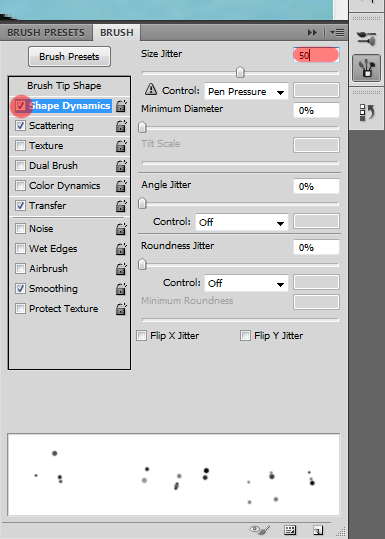
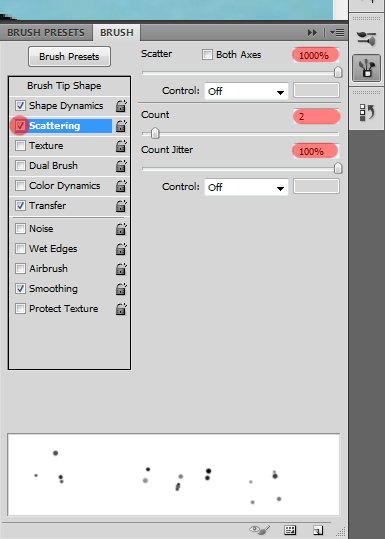
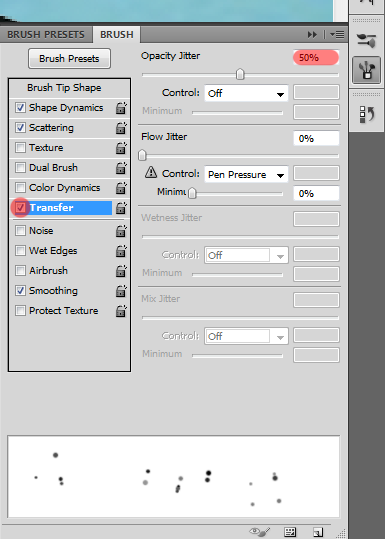
Now set the opacity of this brush to 100%, the color to white, and start painting at random around the lightbulb.
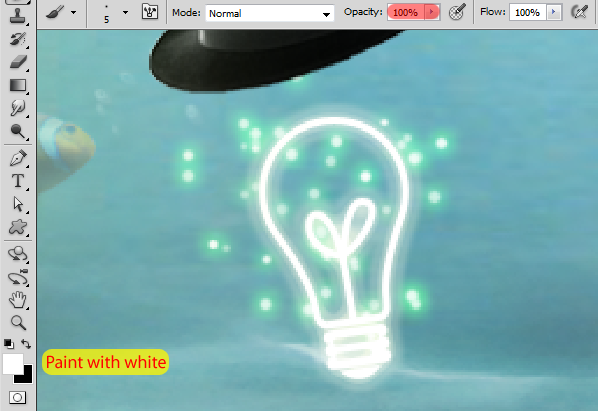
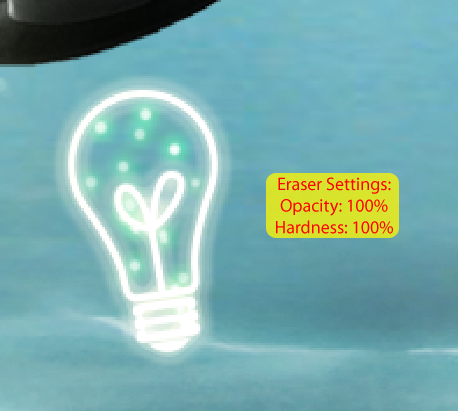
When you’re done, erase the parts you don’t want (outside the
lightbulb) using the Eraser (Shortcut: E) and you should have something
like this:
Don’t change your brush yet cause we’re going to use it again right
now. Create a new layer using Ctrl/Cmd+Shift+Alt/Opt+N and name it
‘Chain Sparks’. Place it above the Chains group.
 .
.
Like we did before, let’s start with the Layer Style. Double click this layer and add these two styles:
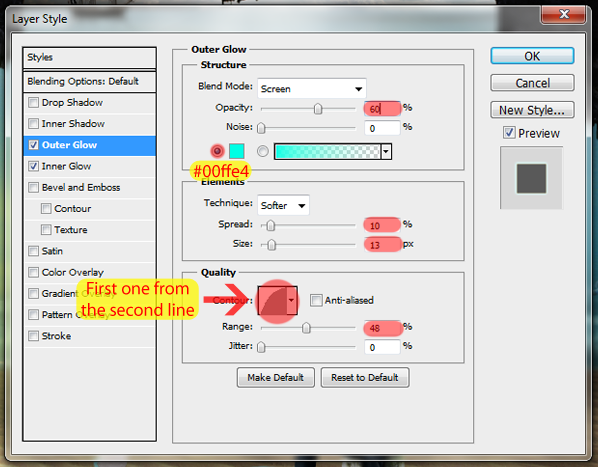
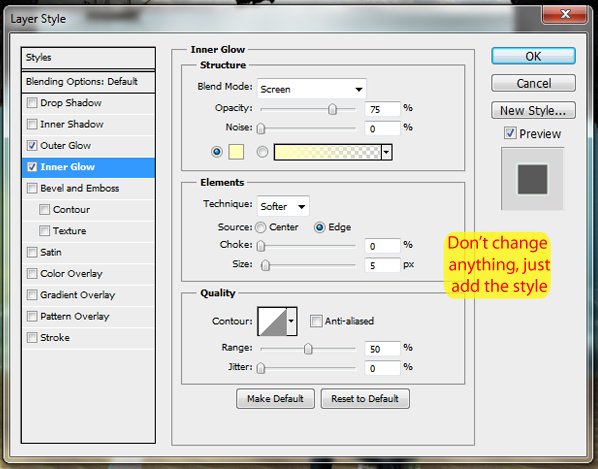
Now that the layer style is ready, just grab the brush we created
before and start painting the chains with a light blue (#60ebed). Like
this:
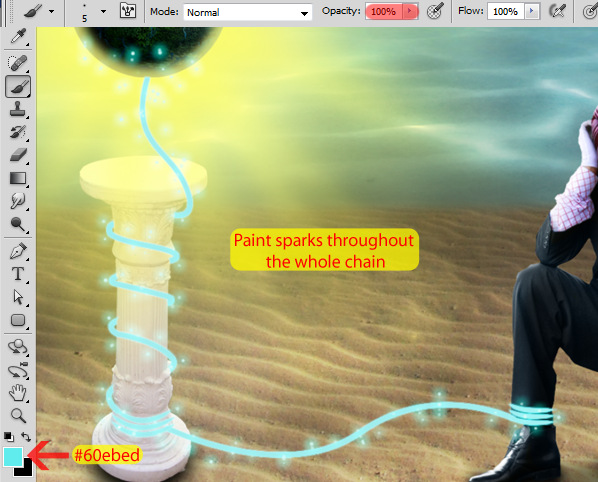
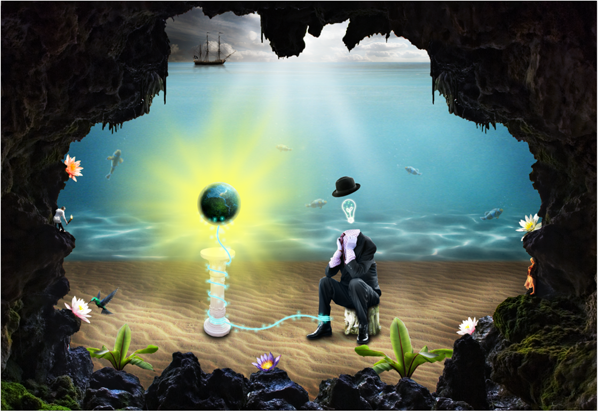
With the sparks added, your image should be looking like this:
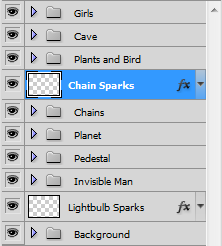
And your layers should be like this:
- The layer styles are still there, I just collapsed them (clicking in that arrow next to “fx”) to clean the workspace
Step 19: Adding some lighting to the pedestal
We didn’t added the lighting layer to the pedestal before because we
didn’t had the chains done. Now that we have them we can go back to the
pedestal group and add it.
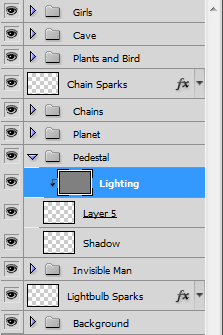
Open the pedestal group, select the pedestal layer (in my case it’s Layer 5) and hit Ctrl/Cmd+Shift+N to add a new layer.
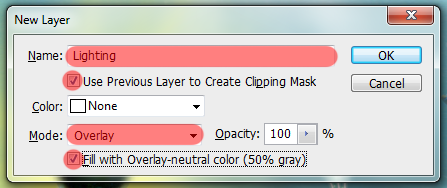
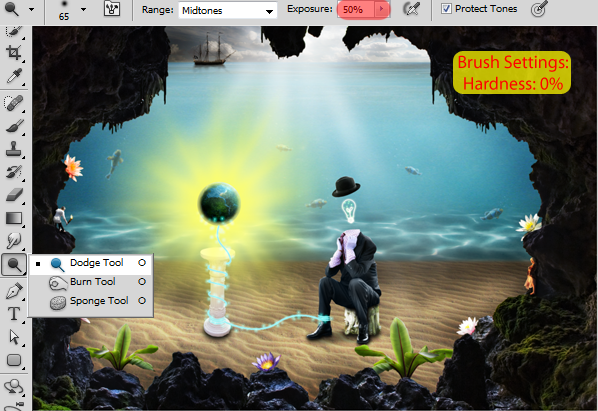
Select the Dodge Tool (Shortcut: O) and start painting the pedestal.
- Think about the light of the planet, the light of the chain and the light of the sun
Here is my pedestal with the blending mode set to Normal to be used as reference.
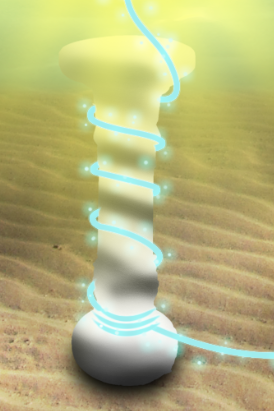
And with the Overlay blending mode:
Step 20: Painting the Image
There are a lot of different colors in our image, all sorts of glows,
but right now there’s no reflection of them in the elements of the
image. To fix that, we’re going to paint our image.
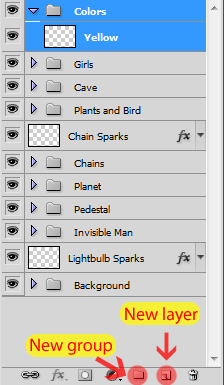
Let’s begin creating a new group called ‘Colors’ and adding a new
layer to it called ‘Yellow’. Place the group with this layer above all
the other groups of our image.
You can use any brush you want to paint the image (try the brushes at
the Brush Presets). I’m going to use a simple round brush with 0%
hardness. One thing that you have to remember while painting is to leave
the painting blending mode set to Color, like this:
Since we added a layer called Yellow, we’re going to start painting
with yellow. Use the Eyedropper Tool (hold Alt/Opt while using the Brush
Tool) on the yellow of the planet and start painting. Here are some
tips to get you started:
- The opacity of the brush will change a lot during the painting. Usually the opacity will be higher when painting closer to the edges (I paint with 3~25% opacity)
- The size of the brush will also change a lot during the painting, don’t be afraid to pick a small brush and zoom in a lot to do some details
- If it doesn’t look natural after you painted, add a Gaussian Blur (Filter > Blur > Gaussian Blur). You’ll do that a lot
- You can also use the Eyedropper Tool by pressing I on your keyboard
- You can press CAPSLOCK to view the center of your brush instead of seeing the size of your brush (this might help while painting)
- Not every place will need the same amount of Gaussian Blur, so you’ll need to make selections of each part of the painting and apply the right amount of Gaussian Blur in that area
- You can use any tool you want to make the selections (Quick Selection Tool, Rectangular Marquee Tool and even the Pen Tool). Just remember that the Gaussian Blur will never go out of the selected area, so you have to let some room for it
- Try not to paint really close to the edges because the Gaussian Blur will affect the painting in all the directions (You can also paint the edges, apply the Gaussian Blur and then use the Move Tool (Shortcut: V) to move it to the right place if you want)
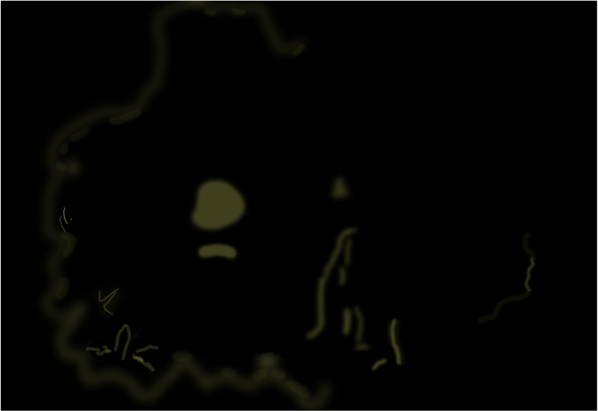
Here is my yellow layer against a black background so you can see it and use it for reference:
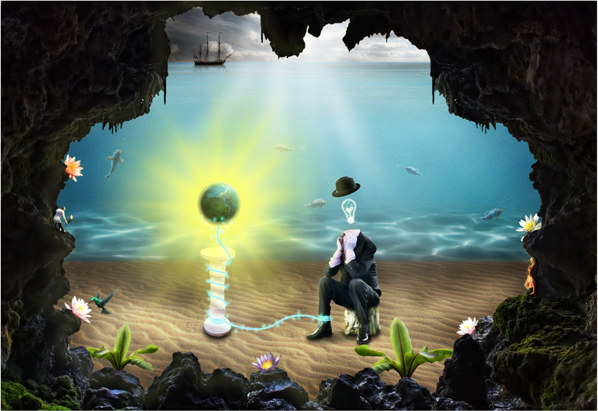
And here is the result of my yellow layer:
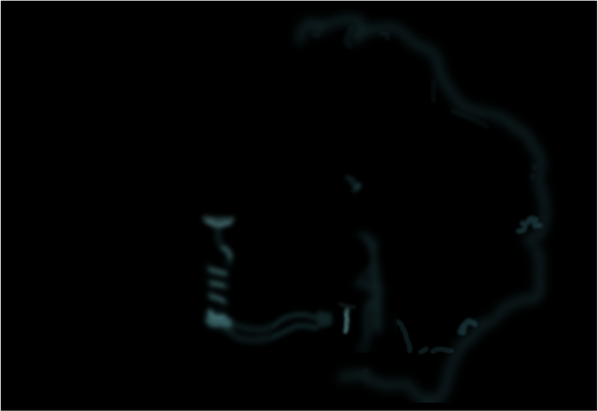
Following the steps we did to paint with the yellow color, we’re
going to paint now with other colors like Blue, Orange and Red. I’m
going to repeat the steps we just did for each one of the colors and
show you the results below.

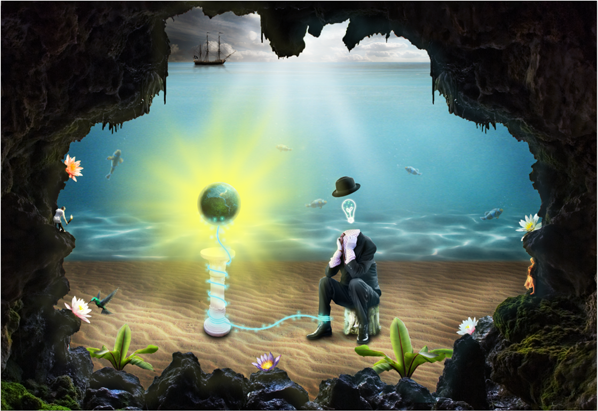
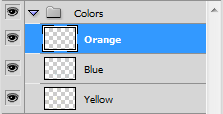
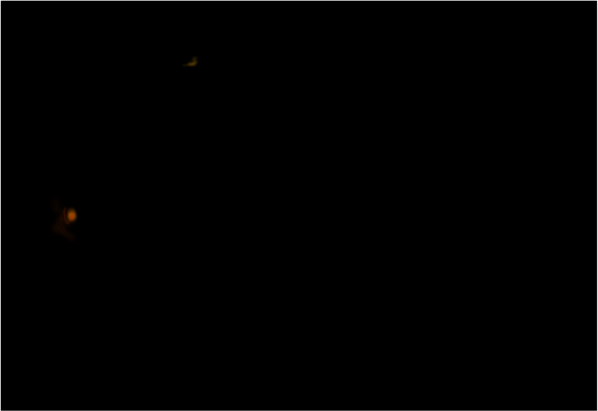
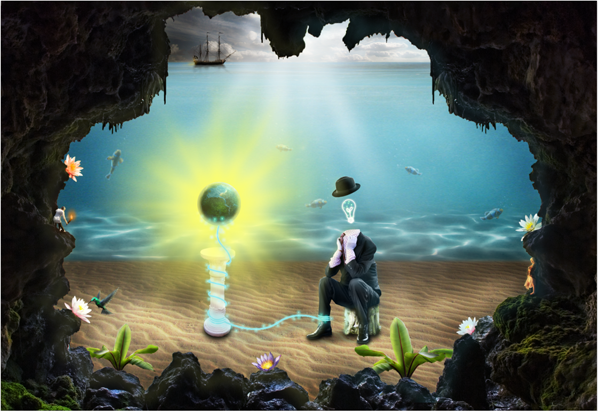
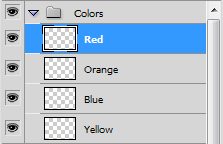
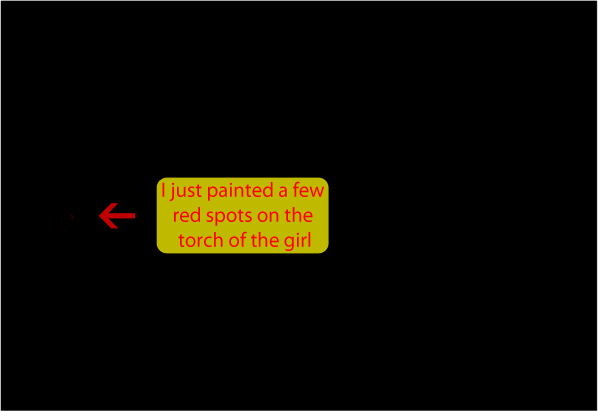
I’m going to stop here but feel free to use how many colors you want in this step.
Step 21: Final Adjustments
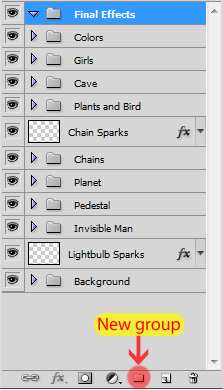
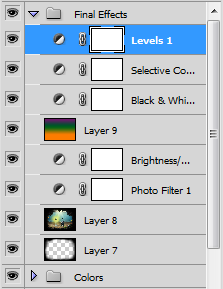
Once you’re satisfied with the colors of your image create a new
group called ‘Final Effects’. This group will have all the adjustments
we’re going to make in this step.
Add a new layer (Ctrl/Cmd+Shift+Alt/Opt+N), press D to reset the
colors of your palette, and press Alt/Opt+Delete to fill this layer with
black.
Now grab the Eraser Tool (Shortcut: E) and erase the main part of our
image (see image below). This will hide the cornes of our image, making
the viewer focus more on the details inside our cave.
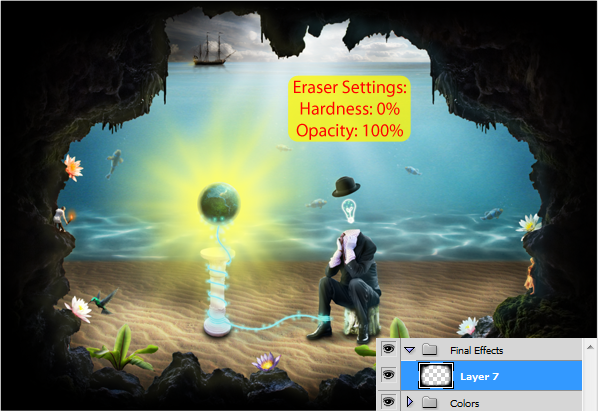
Press Ctrl/Cmd+Shift+Alt/Opt+E to merge your image into a new layer while leaving all the other layers in your project intact.
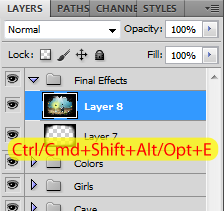
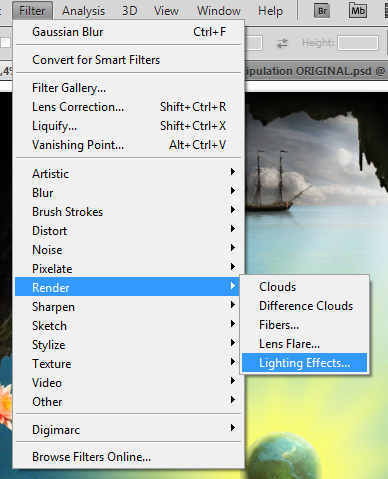
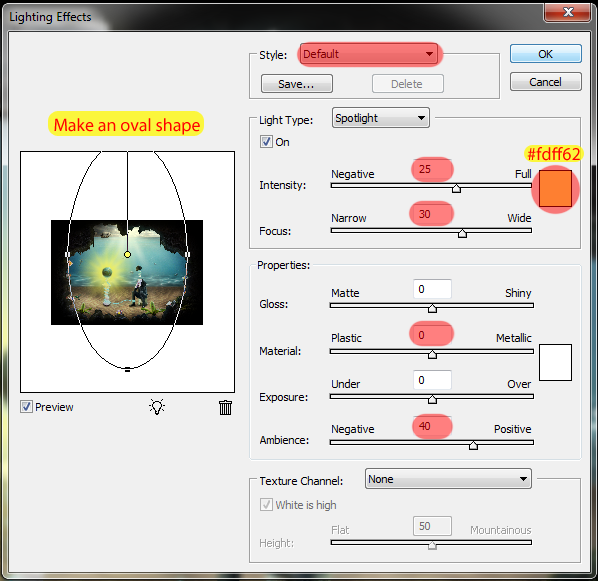
With this new layer selected, go to Filter > Render > Lighting Effects.
Check the image below for the input values:
The result:
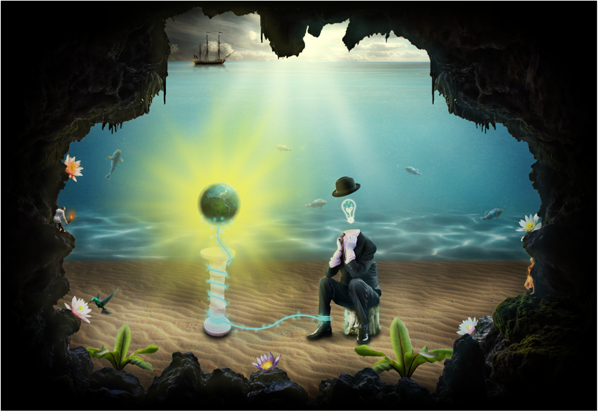
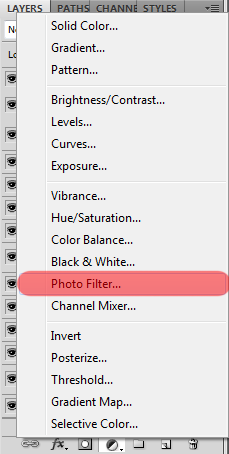
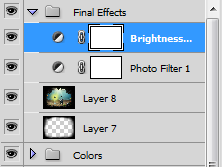
Add a Photo Filter (see image below).
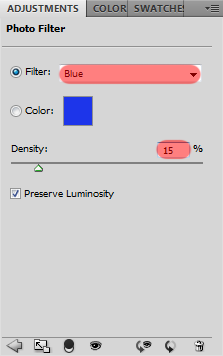
Select the Blue filter and change the Density to 15%.
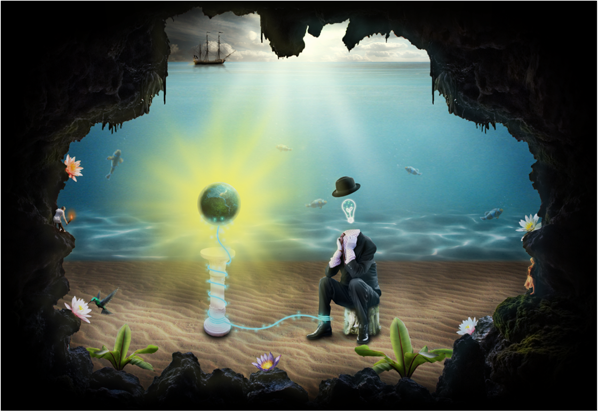
Result:
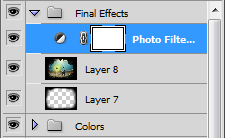
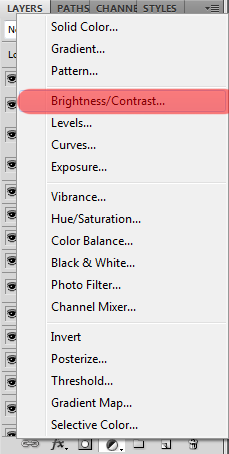
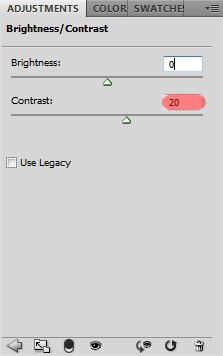
Add a Brightness/Contrast adjustment and set the Contrast to +20.
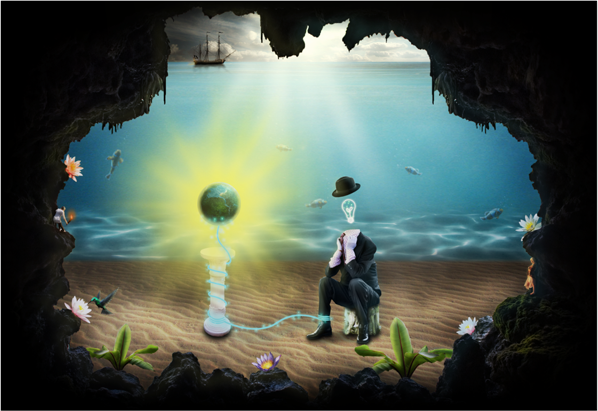
Here is the result:
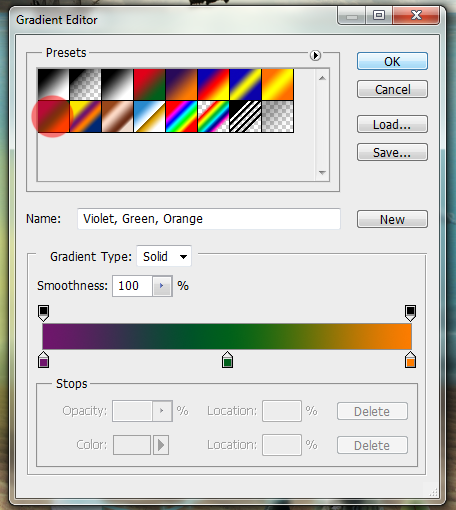
Press G to select the Gradient Tool, and change the gradient (click in the thumbnail of the gradient on the top toolbar).
Select the first gradient from the second line:
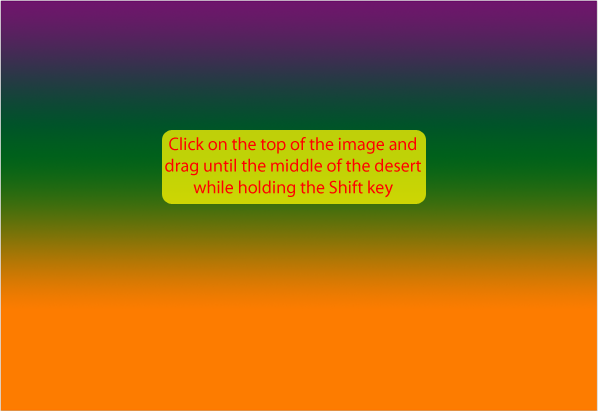
Now create a new layer (Ctrl/Cmd+Shift+Alt/Opt+N) above all the other
layers and click and drag to form the gradient (see image below).
Change the blend mode of this layer to Soft Light and lower the opacity to around 30%.
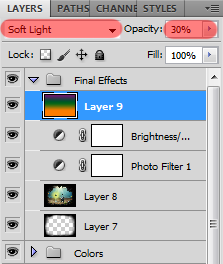
Here is the result:
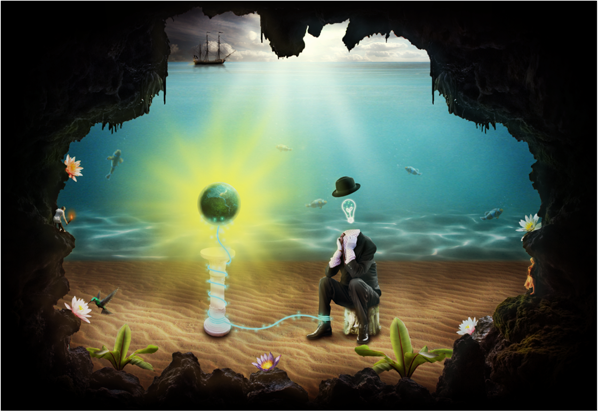
Add a Black & White adjustment and choose the High Contrast Red Filter.
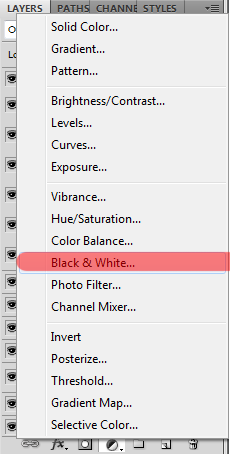
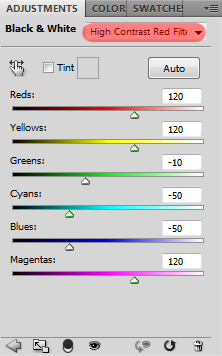
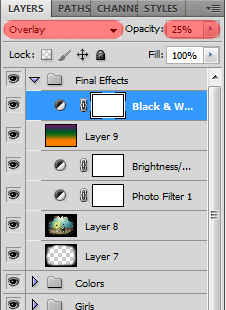
Now change the blend mode of this layer to Overlay and lower the opacity to around 25%.
Here is the result:
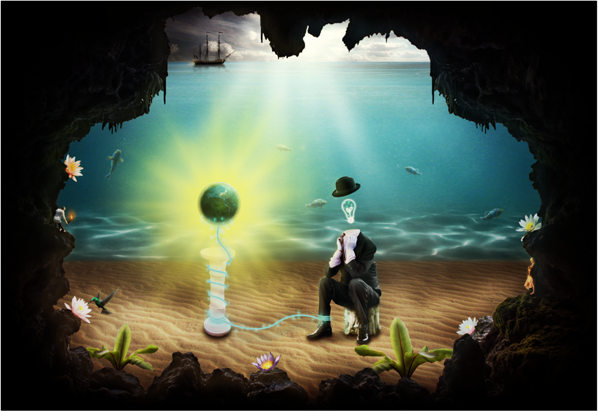
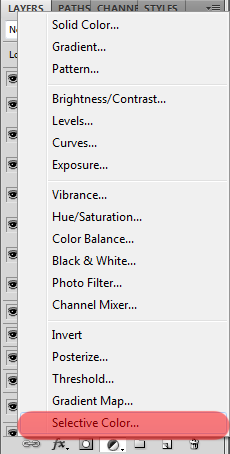
Add a Selective Color adjustment and see the image below for the input values.

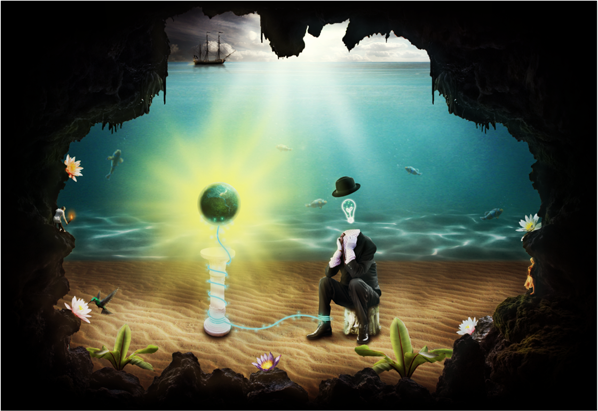
Here’s the result:
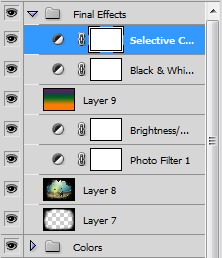
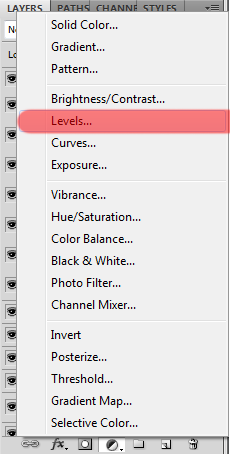
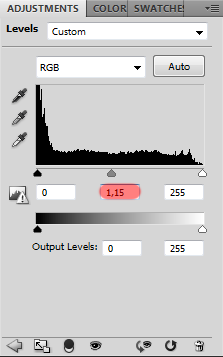
Last but not least, add a Levels adjustment.
Set the middle slider to 1,15.
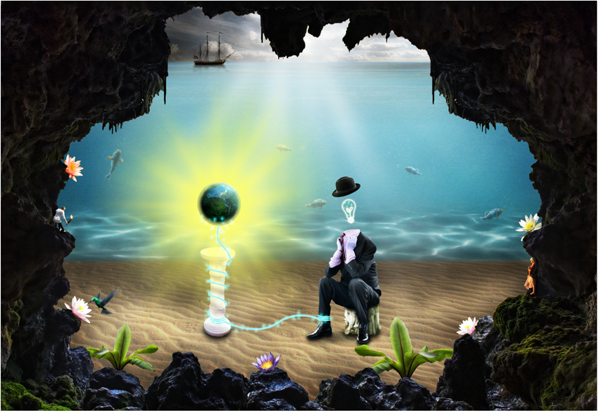
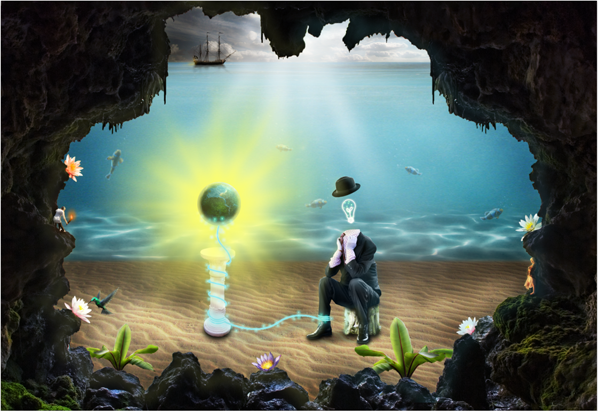
And here is the final result of our photo manipulation:
![clip_image002[1] clip_image002[1]](http://photoshoptutorials.ws/images/stories/57a99763c51b_12E3C/clip_image0021.png)
Final Results
![clip_image002[2] clip_image002[2]](http://photoshoptutorials.ws/images/stories/57a99763c51b_12E3C/clip_image0022.png)


0 comments:
Posting Komentar