Step 10: Adding the Ship
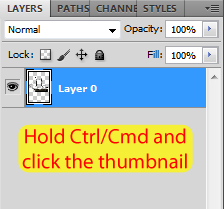
Download the ship pack and open the ‘pship3’ file in photoshop. To
select it, hold Ctrl/Cmd and click in the thumbnail of the image.
Copy and paste the ship into our project and rename this layer to Ship. Place it above the Light Beams group.
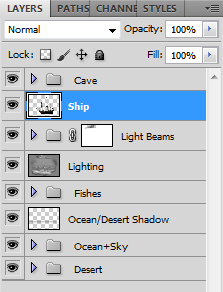
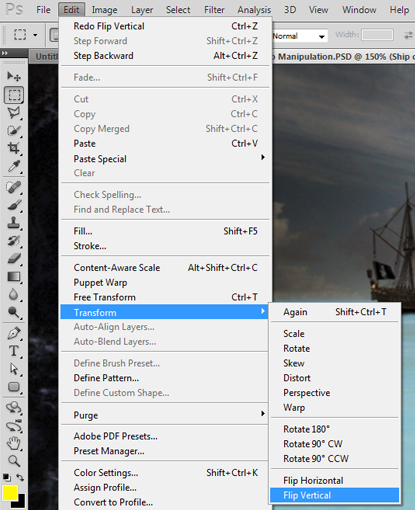
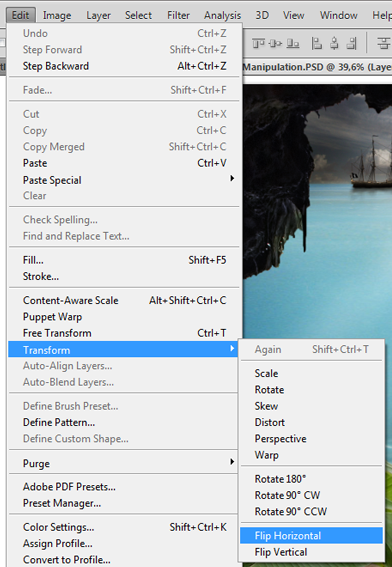
Flip it horizontally by going to Edit > Transform > Flip
Horizontal. Then resize it using the Free Transform Tool (remember to
hold Shift) and place it on the left side of our image.
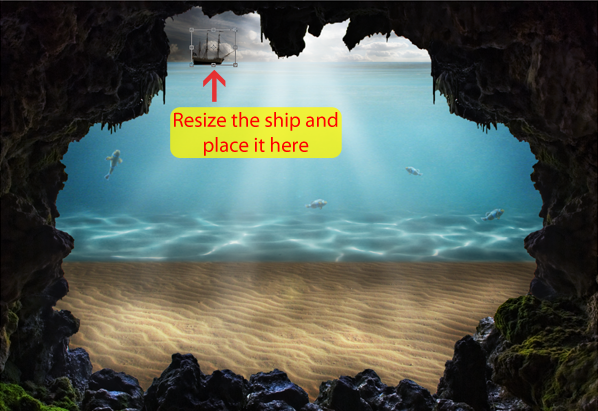
While in the Free Transform Mode, set the Rotate value to -3,5º (the Rotate tool is located at the top toolbar).
Create a new layer mask to the Ship layer.
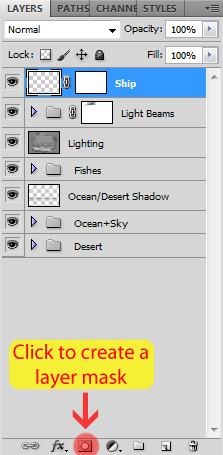
Grab a soft brush, select the layer mask of the ship and start painting with black to hide the lower part of the ship.
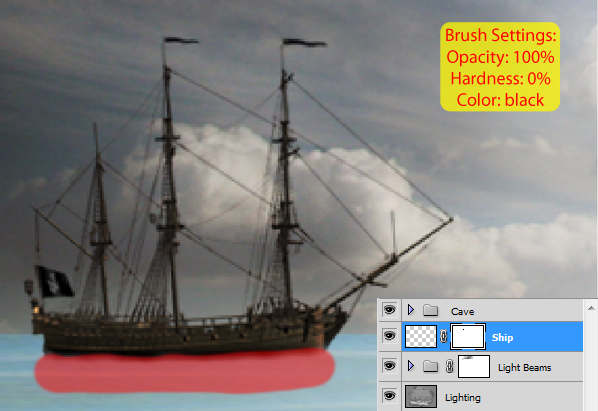
The result:
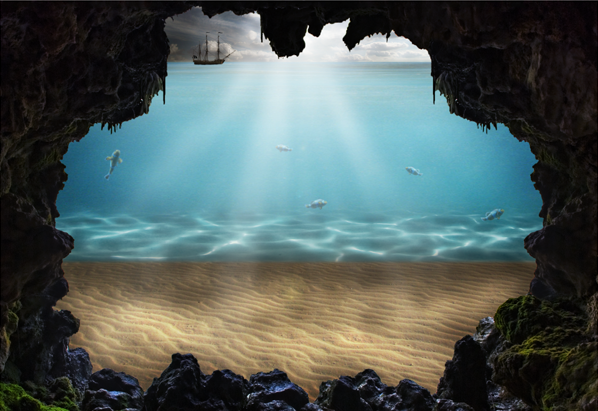
Let’s create some reflections in the water, duplicate the ship layer by selecting it and pressing Ctrl/Cmd+J.
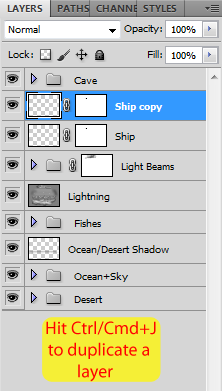
With the duplicated layer selected, go to Edit > Transform > Flip Vertical.
Use the Move Tool (Shortcut: V) to move this layer below the ship.
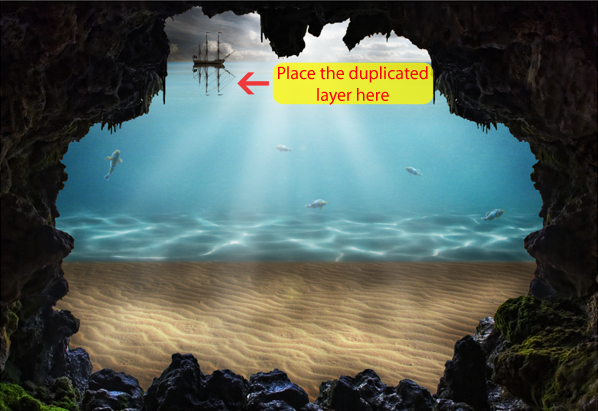
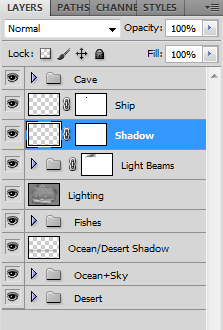
Rename this layer to Shadow and place it below the ship layer.
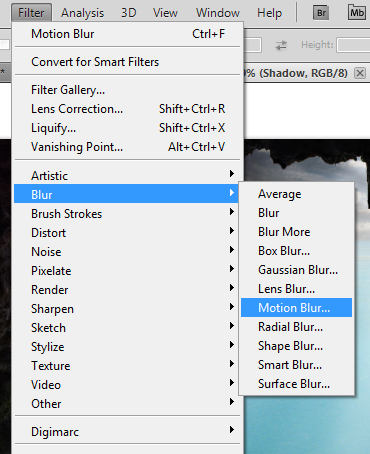
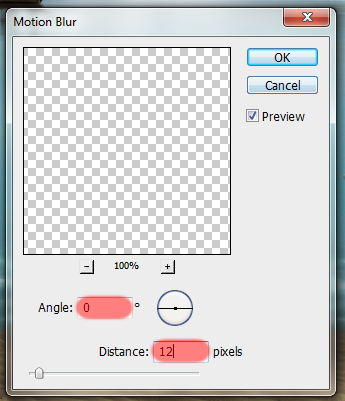
Now select the Shadow layer and go to Filter > Blur > Motion Blur. Set the angle to 0 and the distance to 12px.
Here is the result:
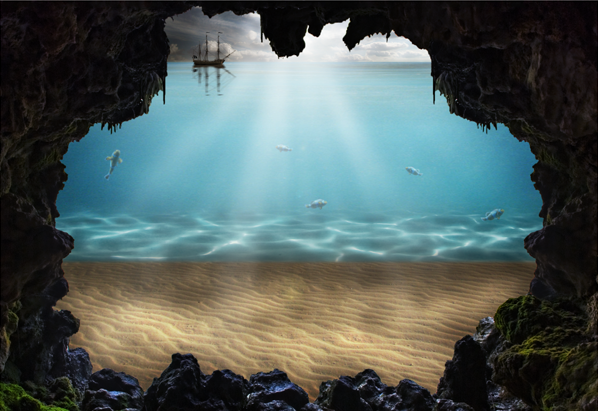
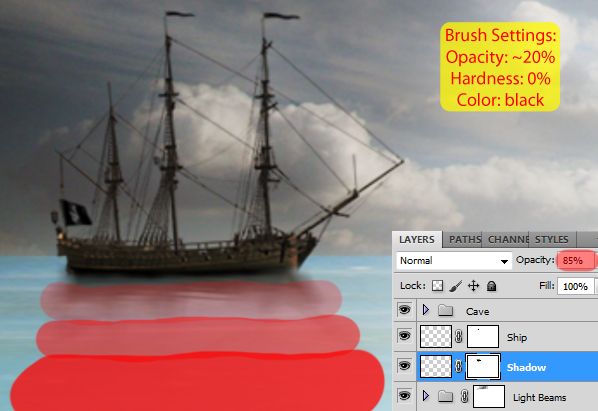
Select the layer mask of the Shadow layer and paint it with black to
hide some areas. After you’re done, set the opacity of this layer to
around 85%.
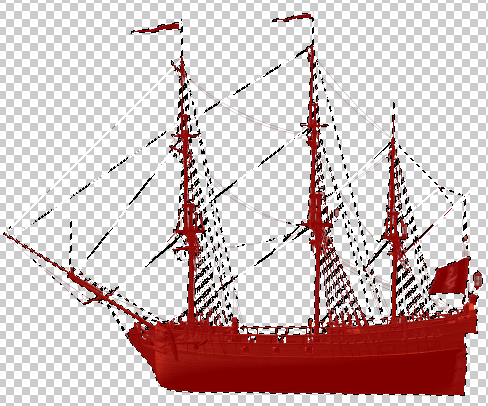
- In the image below, paint more times in the areas where the red is stronger
Here is the result:
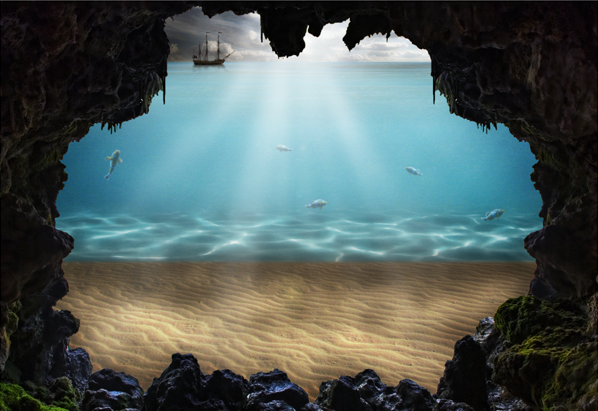
With the Ship layer selected, create a new layer pressing Ctrl/Cmd+Shift+N and input the following values.
![clip_image073[1] clip_image073[1]](http://photoshoptutorials.ws/images/stories/57a99763c51b_12E3C/clip_image0731.png)
Now select the Dodge Tool (Shortcut: O) again, set the Exposure to
50% and paint the ship to make it look like the sun is on the right side
of the ship.
Here is my Lighting layer at Normal mode for reference.
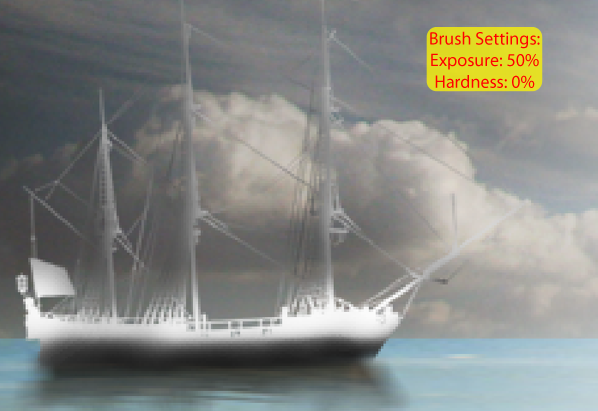
And here is the result of this effect:
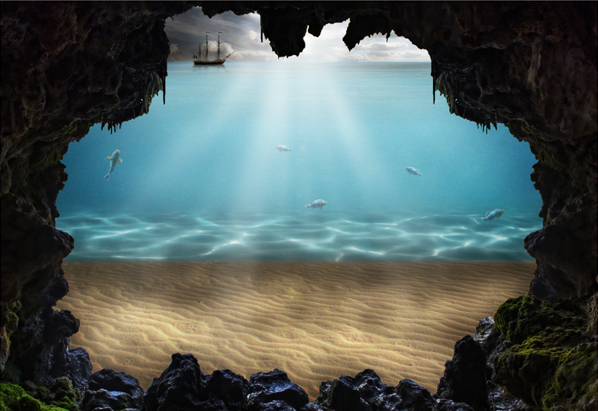
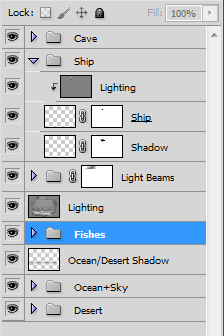
To finish this step, select these three layers we created and add them to a new group called Ship.
Step 11: Adding some bubbles
Download the bubbles brushes and load them into photoshop just like
we did with the light beam brushes. After that, create a new layer below
the lighting layer and name it Bubbles.
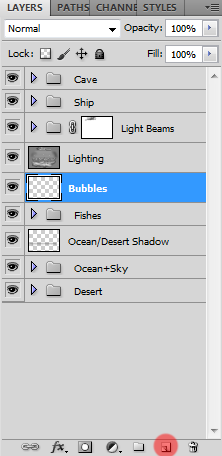
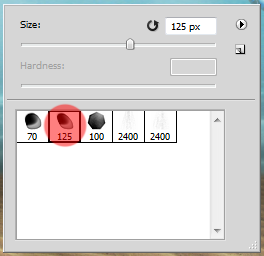
Then select one of the bubble brushes and start adding some bubbles into the ocean.
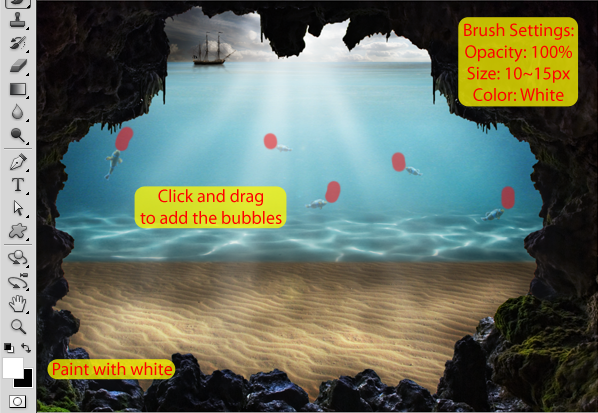
Result:
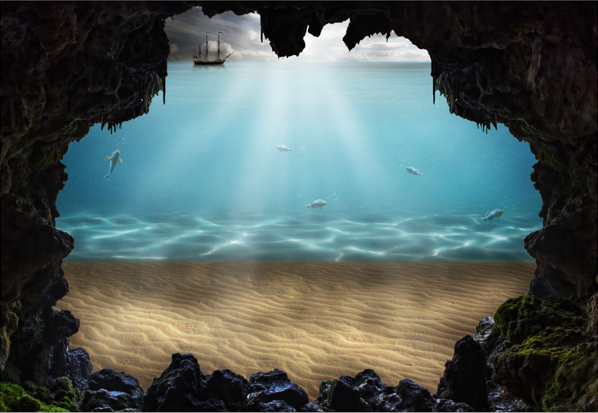
To make the bubbles look more natural we’re going to add a Layer
style to it. Double click the bubbles layer to open the style panel and
check the images below for the input values.
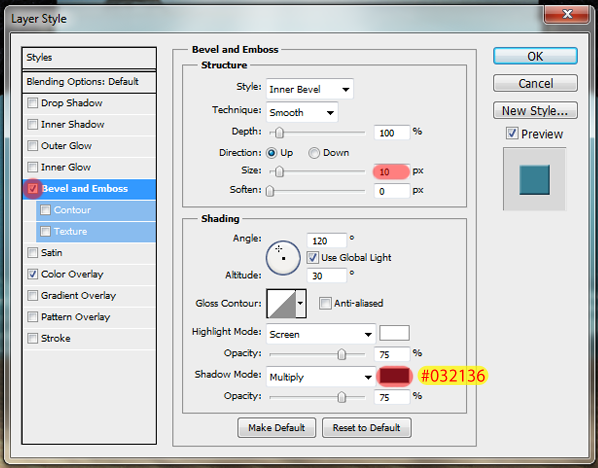
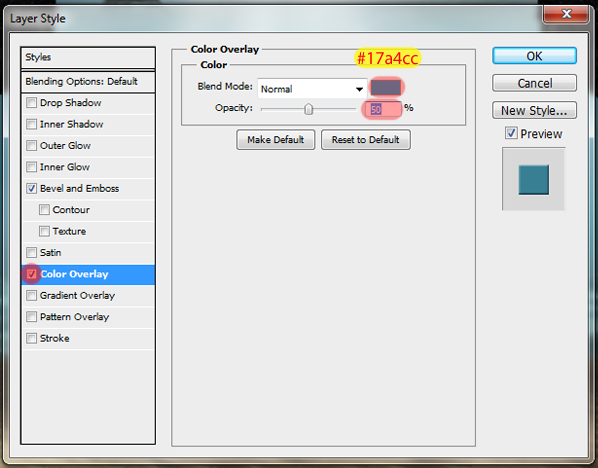
Here is my final result with the bubbles layer.
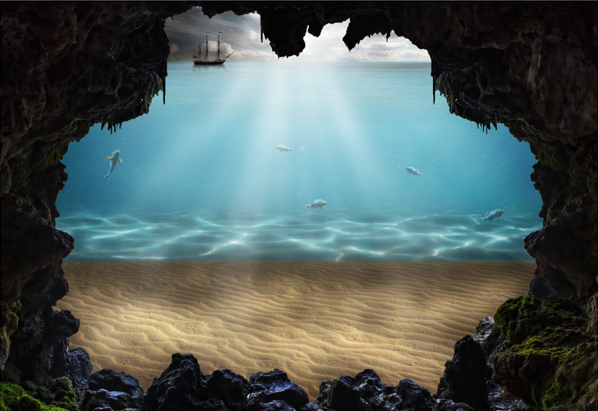
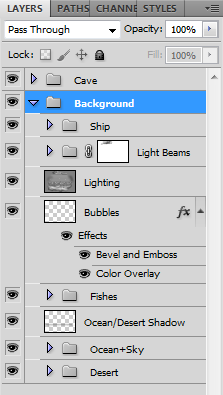
And we’re finally done with the background of our image. To clean the
workspace, select all the layers and groups below the Cave group and
add them to a new group called Background.
Step 12: Adding some life to the cave
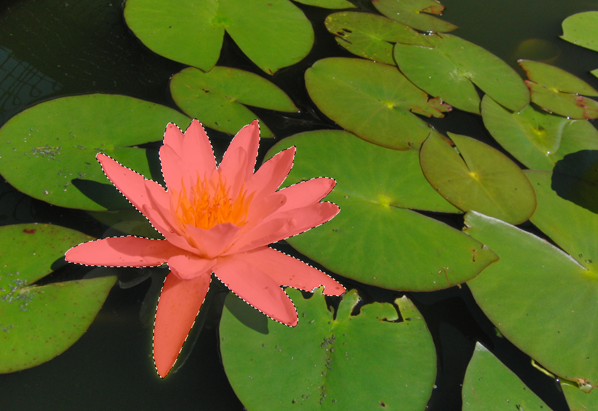
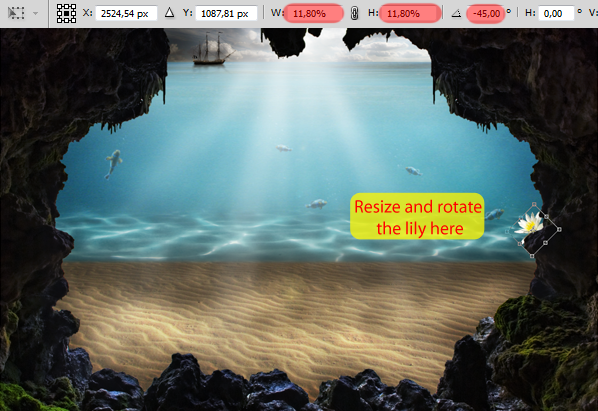
Let’s add some life to the cave now. Open the Lily 1 stock, use the
Quick Selection Tool (Shortcut: W) to select it, and copy and paste it
into our project. Make sure that you paste all the elements of this step
between the Cave and the Background group.
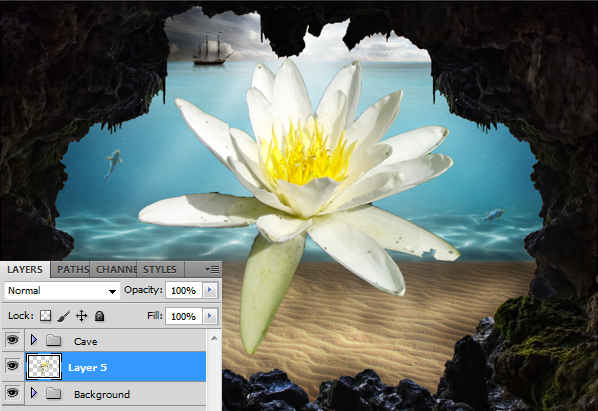
Use the Free Transform Tool (Ctrl/Cmd+T) as usual to resize it.
Remember to hold Shift while resizing to maintain proportion (we don’t
wanna lose the proportions in this step).
- You can also use the Free Transform Tool to rotate the image, just click outside the image and drag the mouse around to rotate it
- If you hold the Shift key while rotating, you will increase/decrease 15º each time
- The Width/Height/Rotate values highlighted in the images below are not exact, they are just for reference
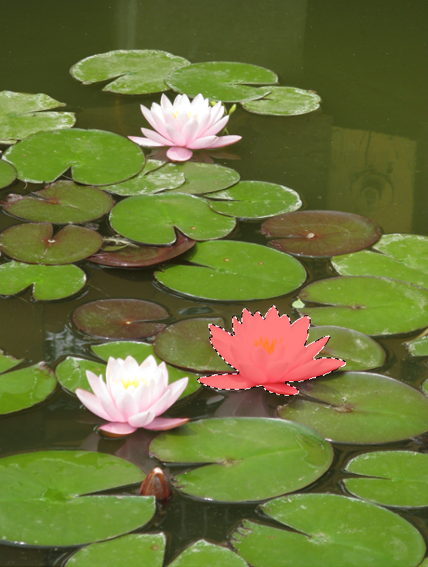
Now open the second lily stock and select the middle one using the
Quick Selection Tool (Shortcut: W). Then copy and paste it two times
into our project.
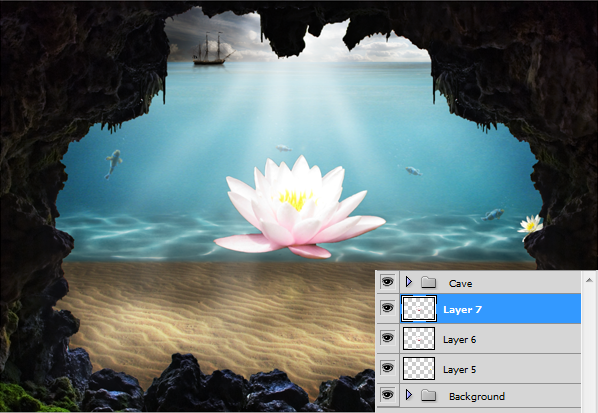
Use the Free Transform Tool (Ctrl/Cmd+T) to resize and rotate the lilies, see the images below for the placement place.
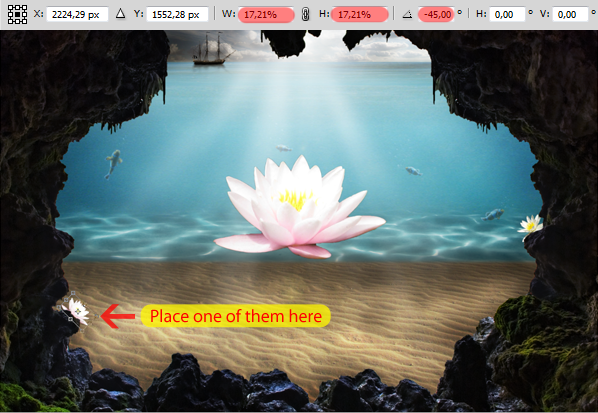
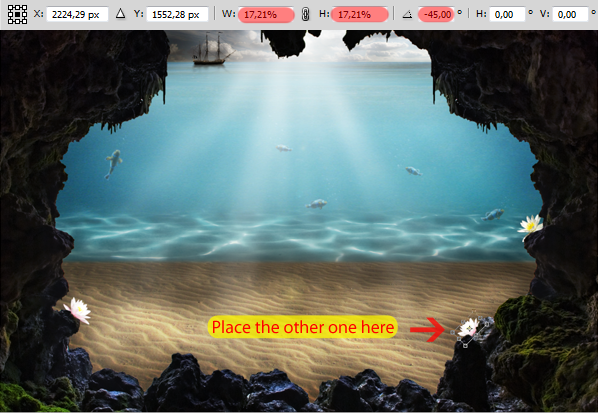
Open the third lily stock and do the same steps we did before, select
the lily with the Quick Selection Tool (Shortcut: W), copy and paste it
into our project.
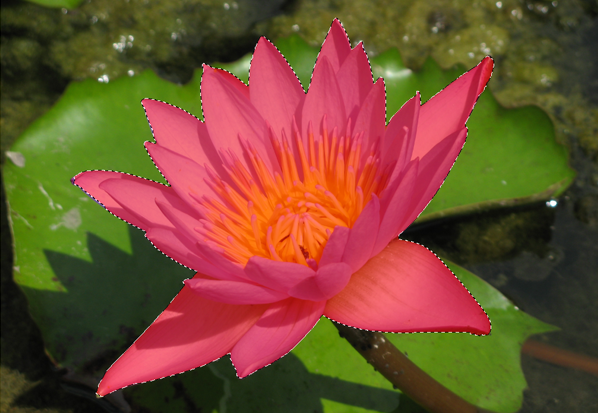
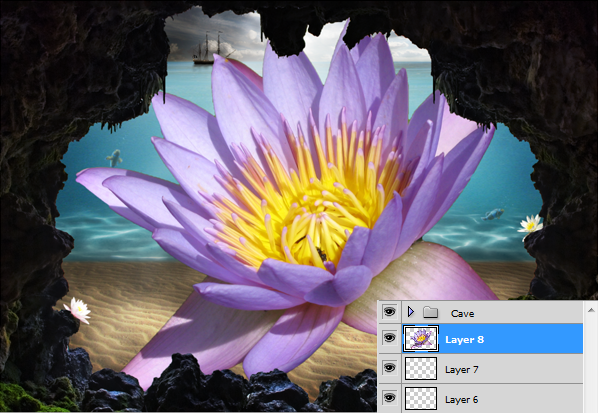
Now use the Free Transform Tool (Ctrl/Cmd+T) again to resize and rotate this lily. Place it on the bottom of our image.
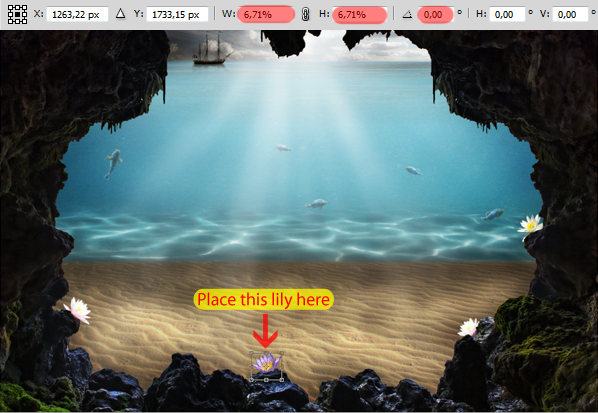
Open the last lily stock (lily 4) and select it with the Quick Selection Tool (Shortcut: W)
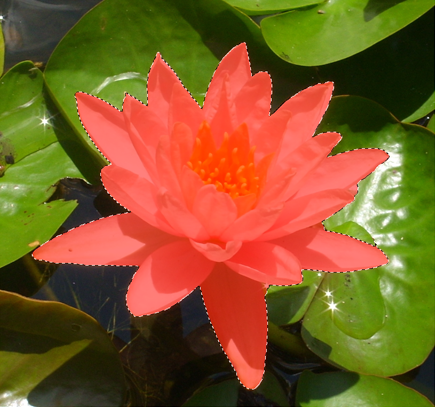
Copy and paste it into our project.
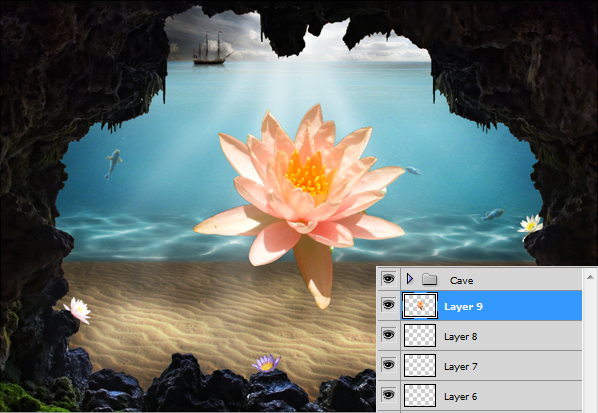
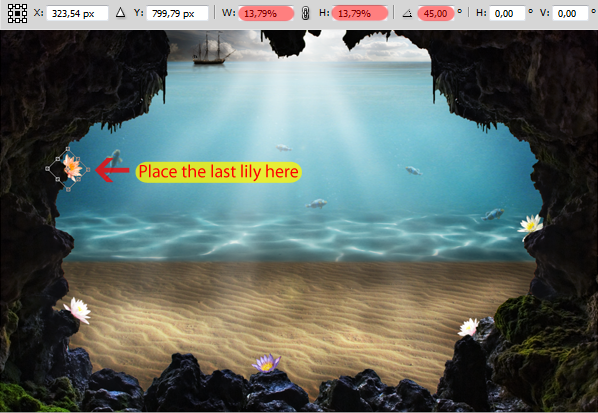
Use the Free Transform Tool (Ctrl/Cmd+T) to resize and rotate this last lily. See the image below for the placement place.
Open the tropical plant stock and make a selection using the Quick Selection Tool (Shortcut: W).
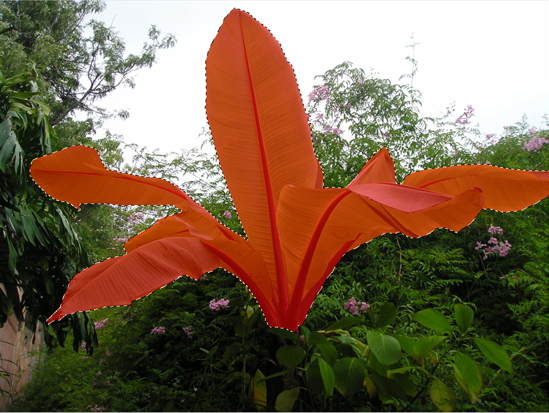
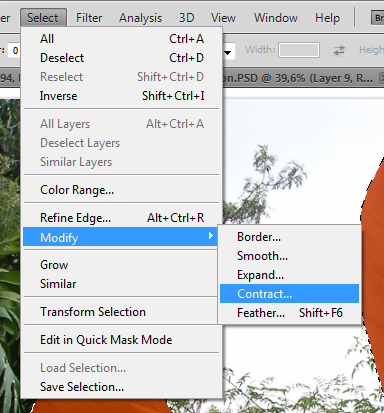
Now go to Select > Modify > Contract to fix some of the edges.
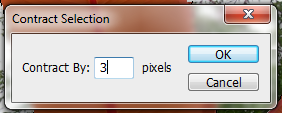
Set the Contract value to 3px.
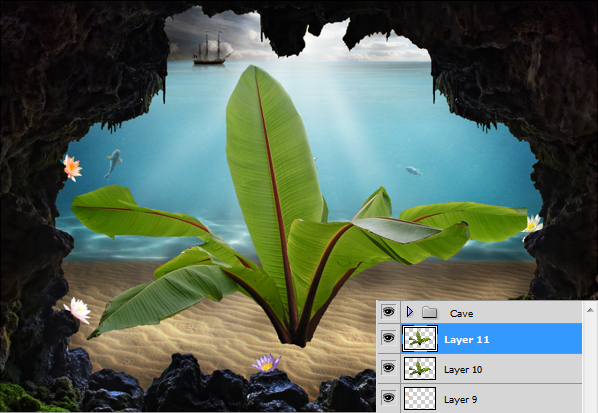
After that, copy and paste the plant two times into our project.
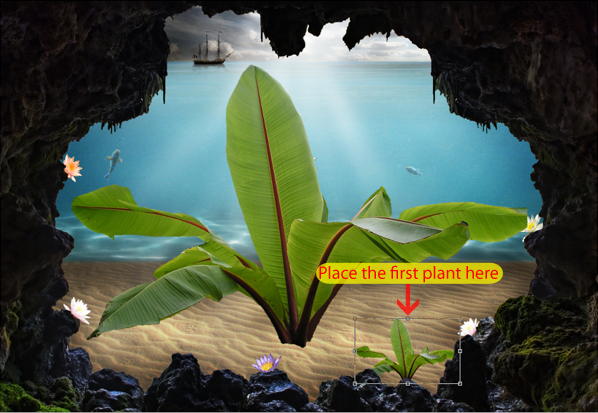
Use the Free Transform Tool (Ctrl/Cmd+T) to resize one of the plants
and place it on the right side of our image (You don’t need to rotate
them).
Select the other plant and flip it horizontally by going to Edit > Transform > Flip Horizontal.
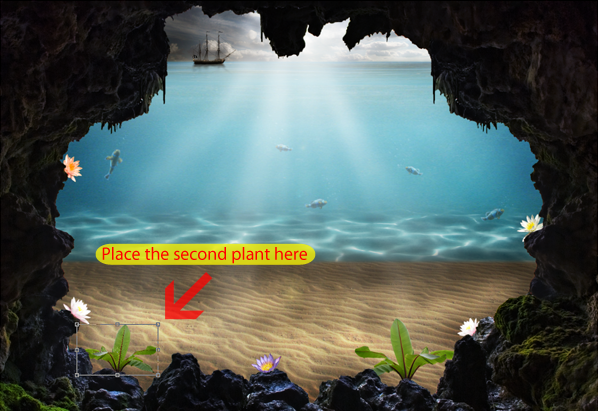
After that, resize it using the Free Transform Tool (Ctrl/Cmd+T) and place it on the left side of our image like this:
To finish this step, let’s add a hummingbird in one of our lilies.
Open the hummingbird stock in photoshop and select it like we did with
the ship (Ctrl/Cmd click the thumbnail of the image).
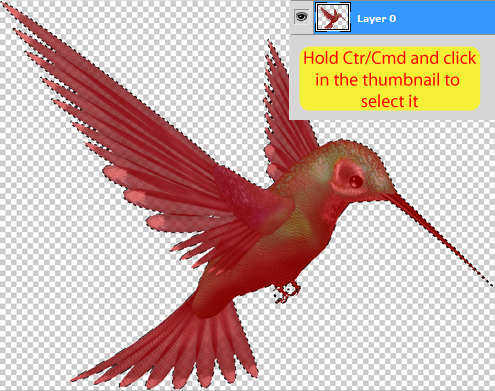
Copy and paste it into our project and flip it horizontally like we
did with the plant above (Edit > Transform > Flip Horizontal).
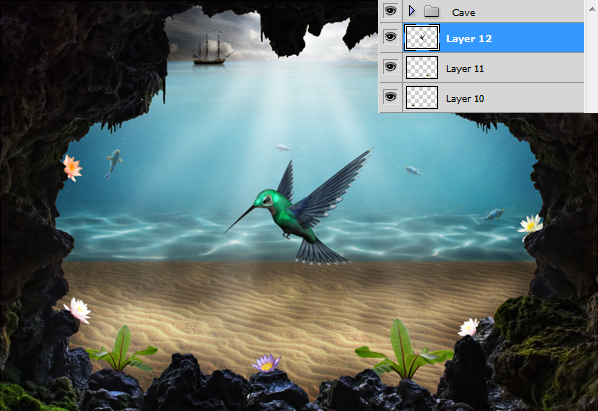
Now resize it using the Free Transform Tool (Ctrl/Cmd+T) and place it on the left side of our image.
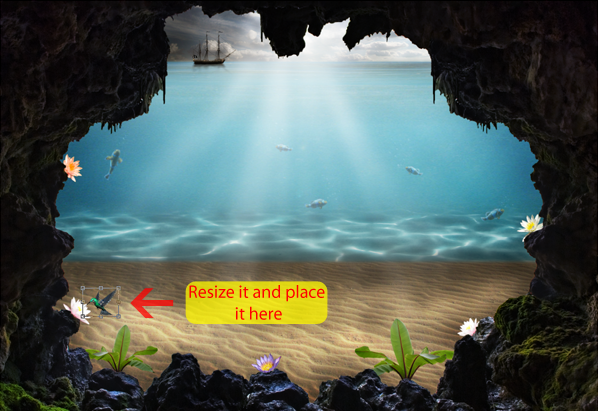
Here is our final image with the bird and the plants added:
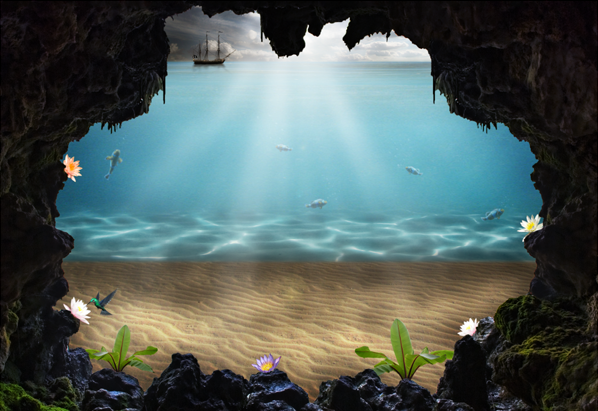
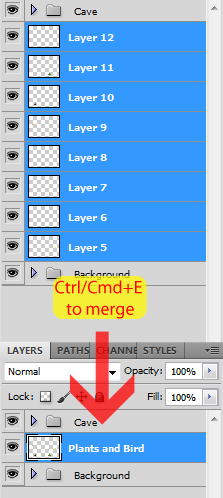
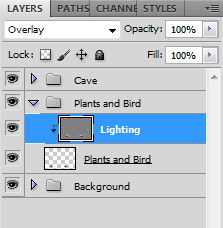
Now merge all these layers in one (select them and press Ctrl/Cmd+E). Name this new layer ‘Plants and bird’.
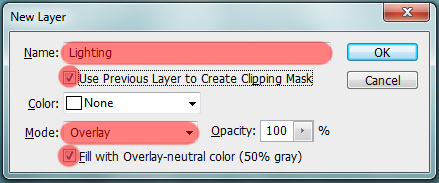
To finish this step, let’s add some lighting to the elements we just
added. As usual, select the layer we just created and hit
Ctrl/Cmd+Shift+N to create a new layer with the following settings:
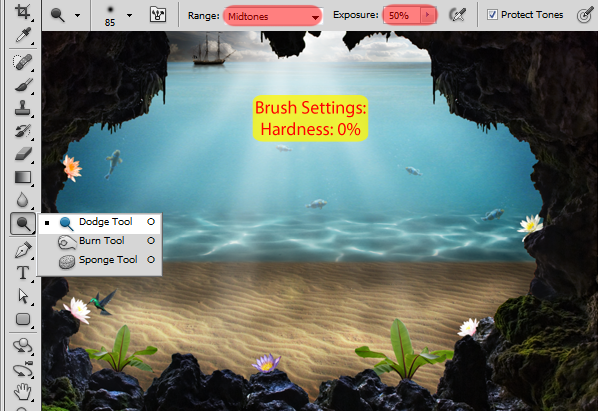
Now grab the Dodge Tool (Shortcut: O), set the range to midtones, the
exposure to 50% and start adding some shadows and lighting to our
plants.
- We clipped this layer to our ‘Plants and Bird’ layer, so you don’t have to be so precise with your painting because it will only affect the plants and the bird, not the background
- Give the plants some lighting in the top (based on the position of the sun)
- Paint some dark areas in the bottom of the plants and the bird
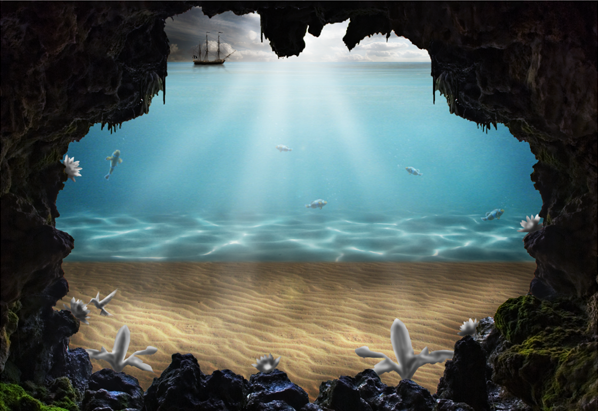
Here is my Lighting layer in normal mode:
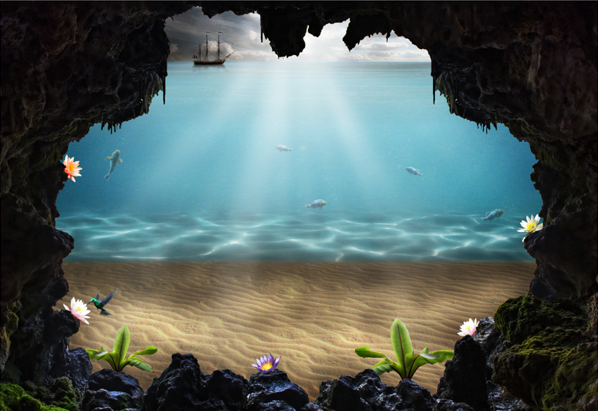
And here is the result of my lighting layer:
To finish this step, add these two layers we created into a new group called ‘Plants and Bird’.


0 comments:
Posting Komentar