Step 13: Add some people to our scene
Let’s add the girls in our cave. Open the Girl 1 stock and select her using the Quick Selection Tool (Shortcut: W).
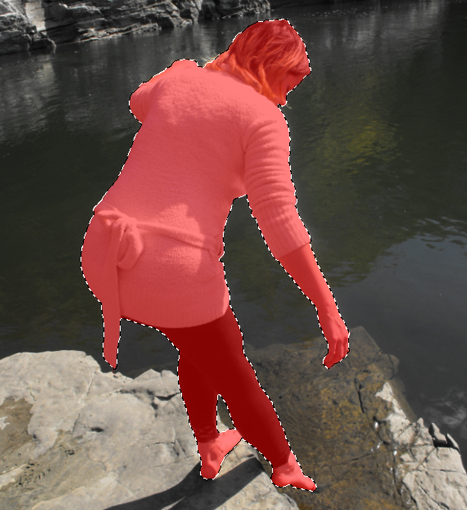
Copy and paste it into our project and place her layer above the Cave group.
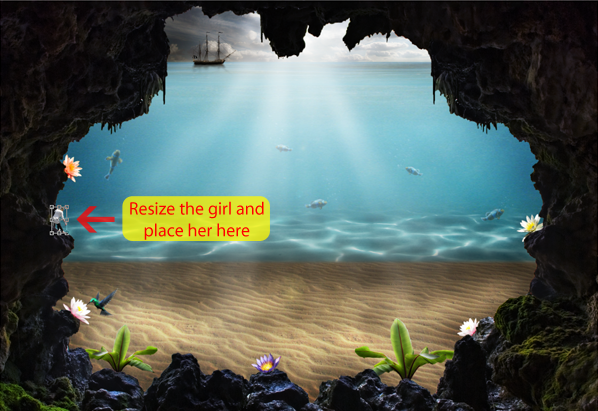
Use the Free Transform Tool (Ctrl/Cmd+T) as usual to resize her
(remember to hold Shift). Then move her to the left side of our image.
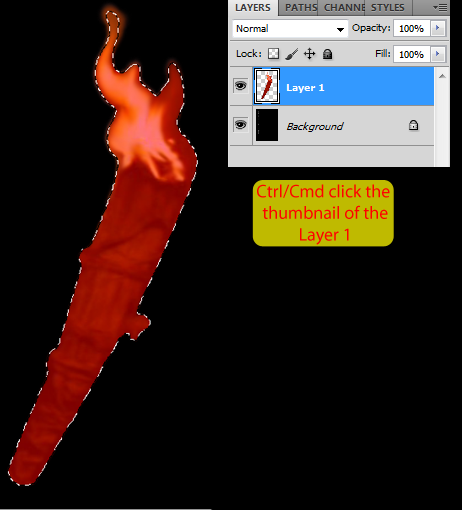
Let’s add a torch in the hand of the girl. Open the photoshop file
Old Torch and select it by holding Ctrl/Cmd and clicking in the
thumbnail of the Layer 1 of this project.

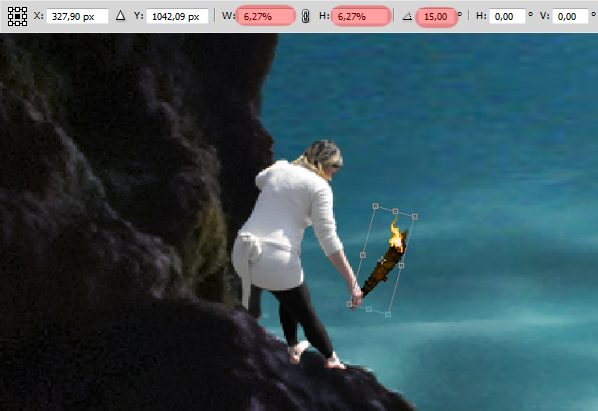
Now use the Free Transform Tool (holding Shift) to resize and rotate the torch like this:
Let’s improve the fire a little bit, select the Smudge Tool with a
1px brush and set the Strength to 80%. Then click and drag some areas of
the fire to make it look more natural (see image below for reference).
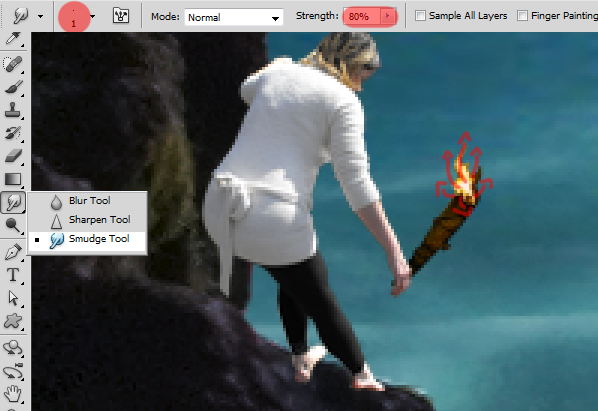
Here is my result:
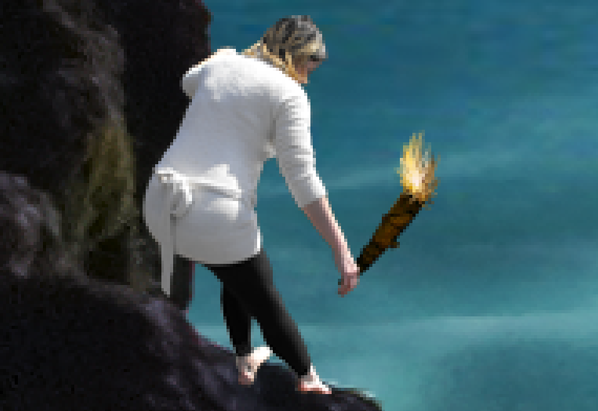
Now that this girl is ready, let’s add another one to the other side.
Open the Girl 2 stock and select her using the Quick Selection Tool
(Shortcut: W).
Don’t worry too much about little details over the hair because she will be really small in our final image
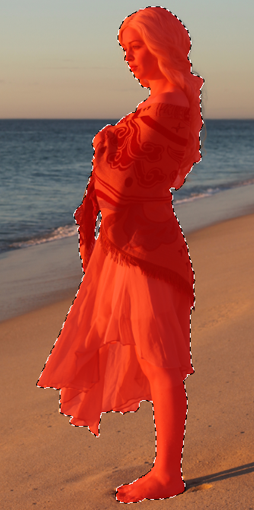
Copy and paste her into our project.
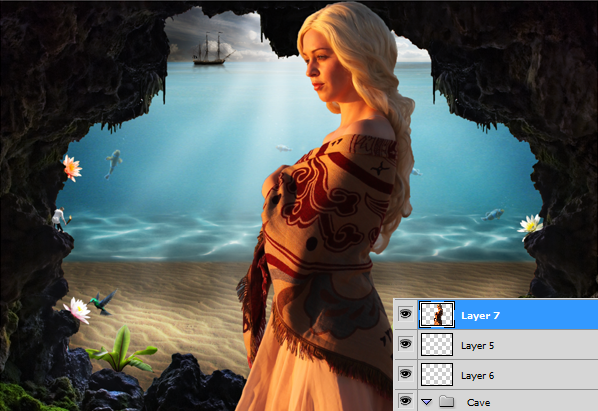
Now resize her using the Free Transform Tool (holding Shift) and place her on the right side of our image.
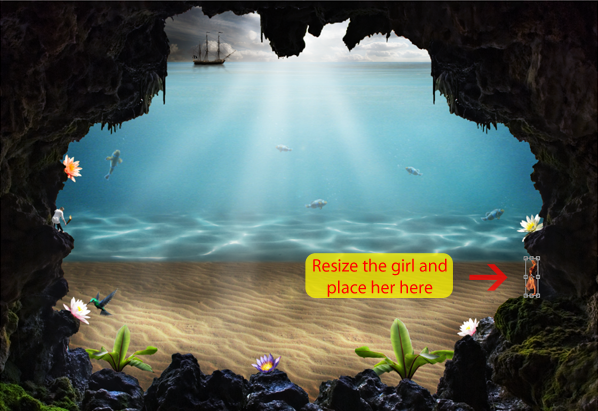
Now that the girls are in place, let’s add their shadows in the cave.
Create a new layer, name it Shadow and place it above the Cave group.
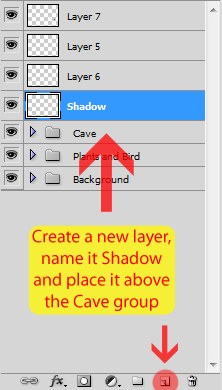
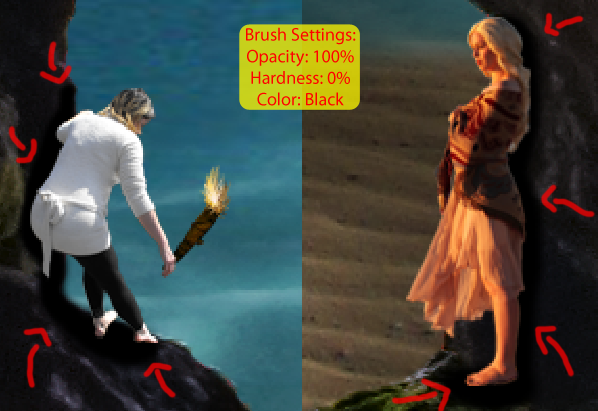
Now grab a soft brush and start painting this layer with black following the image below:
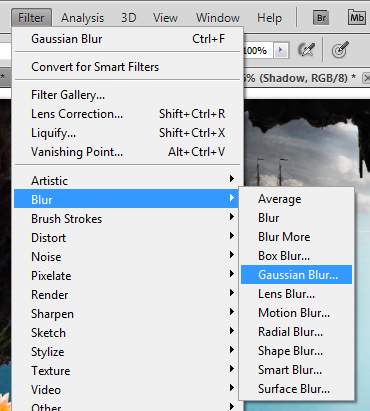
To give the shadows a more natural look, go to Filter > Blur > Gaussian blur and set the radius to 7px.
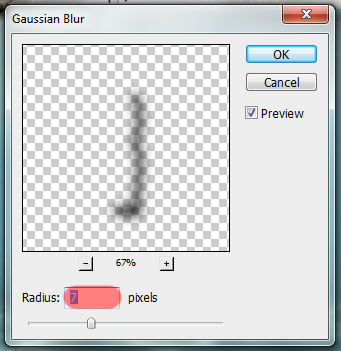
And here is the result:
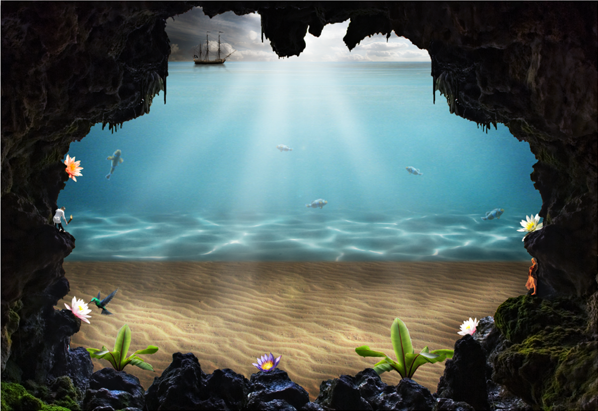
Let’s add some lighting to the girls. First, merge (Ctrl/Cmd+E) the girls and the torch into a new layer called Girls.
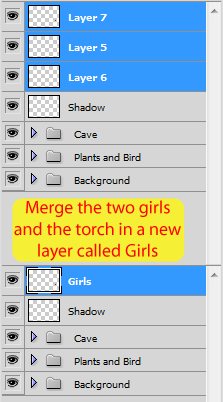
Now create a new layer pressing Ctrl/Cmd+Shift+N and set the values below:
![clip_image154[1] clip_image154[1]](http://photoshoptutorials.ws/images/stories/57a99763c51b_12E3C/clip_image1541.png)
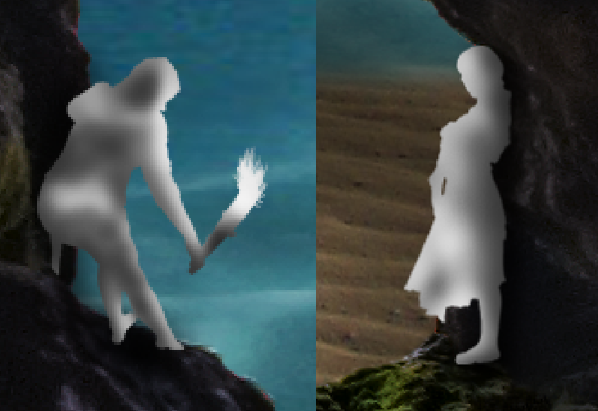
Select the Dodge Tool (Shortcut: O), set the Range to Midtones, the Exposure to 50%, and start painting the Lighting layer.
- Make it look like the sun is affecting the girls
- Make the torch brighter
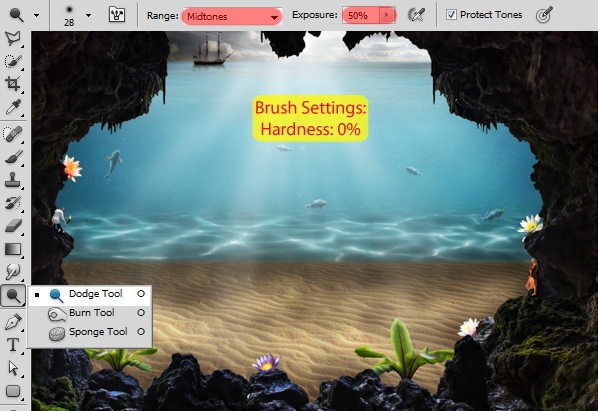
Here is my lighting layer in normal blending mode for reference.
And here is the result:
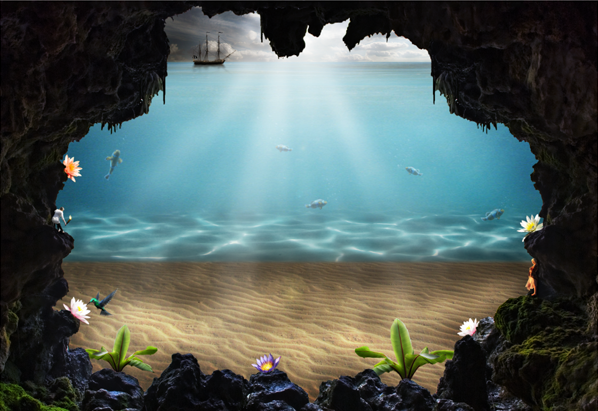
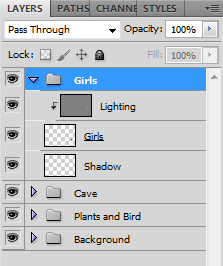
To finish this step, select these three layers we just created and add them to a new group called Girls.
Step 14: Add the invisible man
Let’s start the main part of our image. Open the tree stump stock and select it using the Quick Selection Tool.
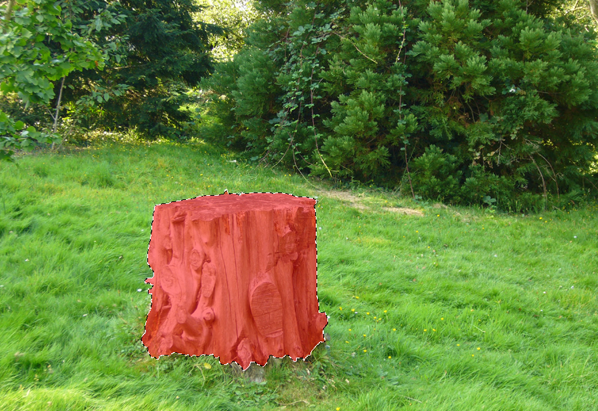
Copy and paste the stump into our project and place its layer between the ‘Plants and Bird’ and the ‘Background’ group.
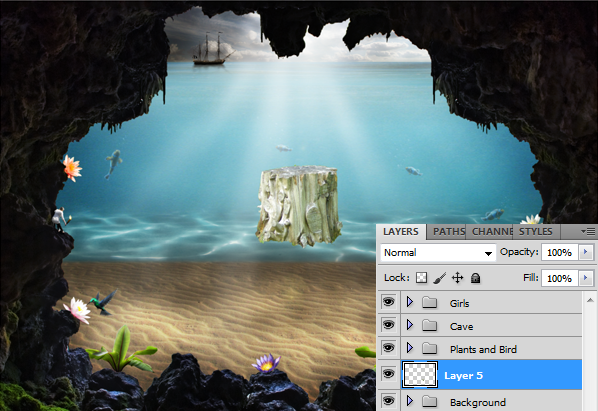
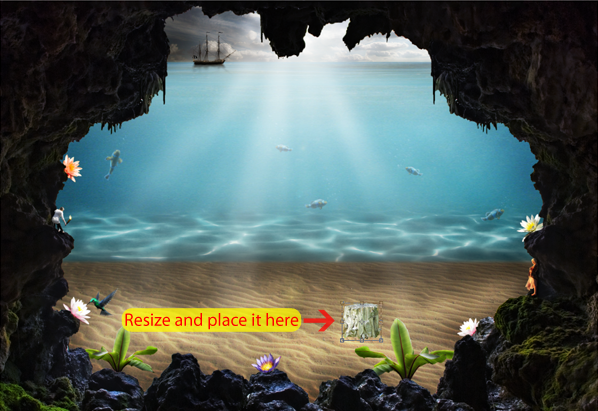
With the Free Transform Tool (Ctrl/Cmd+T) , hold the Shift key and resize the stump. Place it on the bottom of our image.
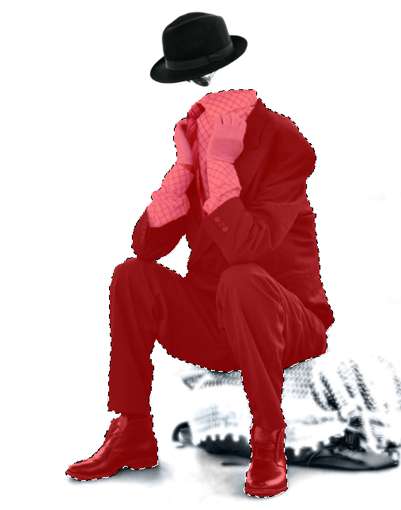
Now open the invisible man and use the Quick Selection Tool to select only his body. We’ll come back for the hat later.
Copy and paste it into our image. Make sure his layer is above the stump layer.
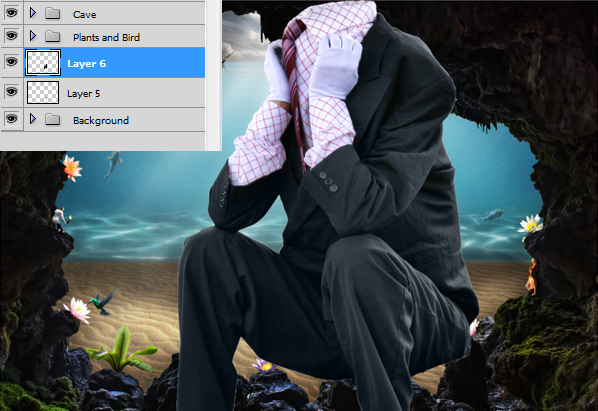
Now use the Free Transform Tool (holding Shift) to make him smaller and place him above the stump.
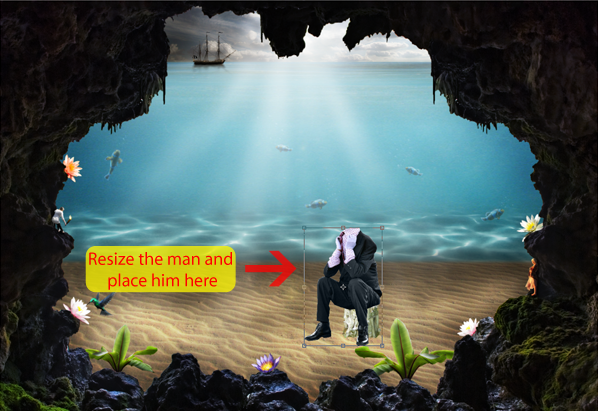
Go back to the invisible man image and use the Quick Selection Tool to select his hat this time (we don’t want the glasses).
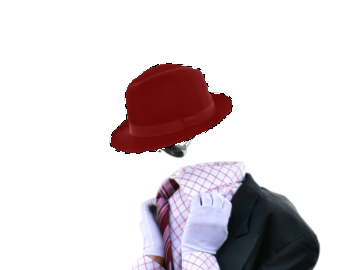
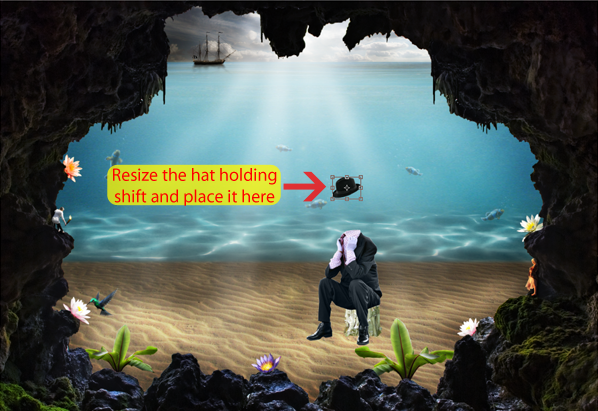
Copy and paste the hat into our project and use the Free Transform
Tool (Ctrl/Cmd+T) as usual to resize (holding Shift) and position it.
To add the light bulb, we’re going to press U to select the Custom Shape Tool.
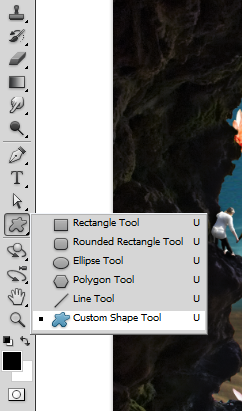
Now select the light bulb from the toolbar at the top of the screen.
If you don’t see the light bulb, click in that little arrow on the top right corner and select Reset Shapes
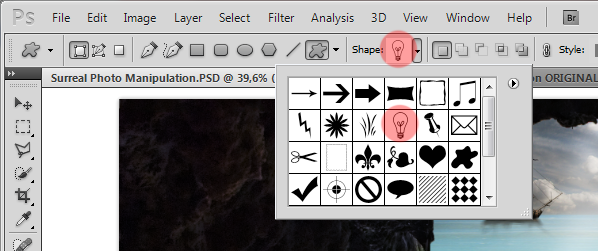
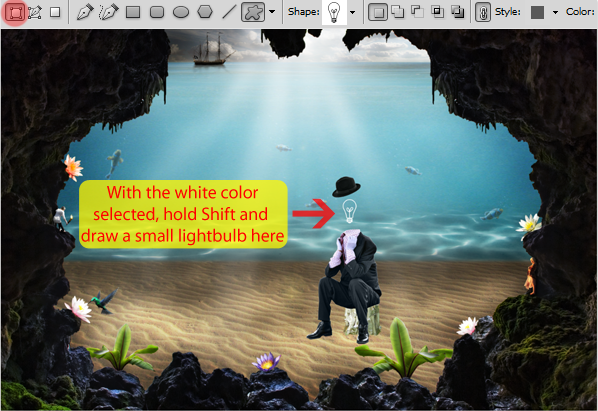
Now select the white color and draw a small light bulb below the hat
of the invisible man. Make sure you hold Shift while drawing to maintain
the proportions and check to see if Shape layers is selected.
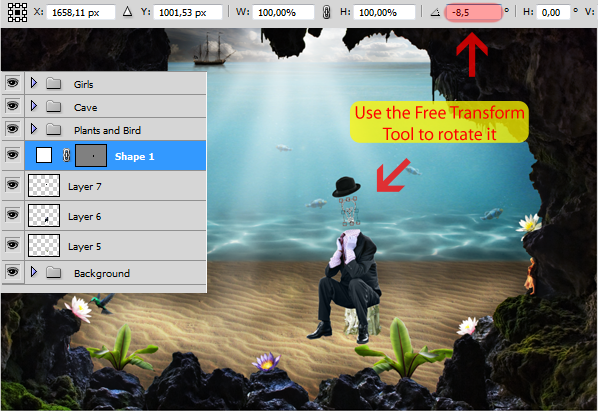
After that, use the Free Transform Tool (Ctrl/Cmd+T) in this layer to
rotate the light bulb a little bit. Set the rotation to -8,5º.
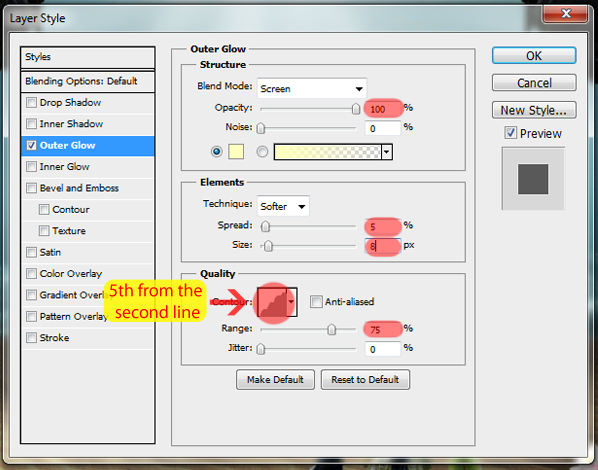
Double click this Shape 1 layer to add some Layer Style. Add an Outer Glow like this:
To change the Contour don’t click in the thumbnail, click in the arrow on the right
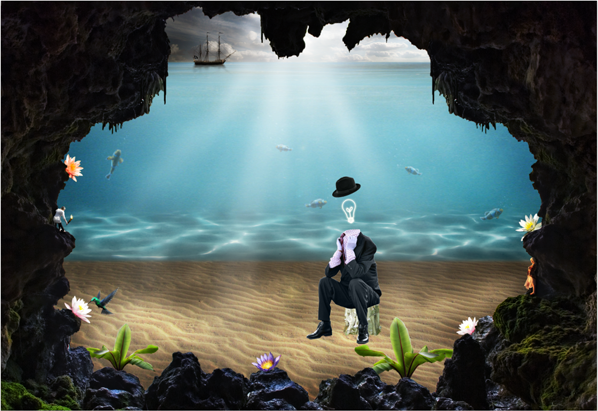
The result:
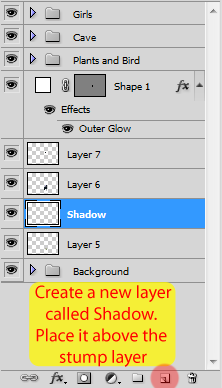
Let’s add the shadow of the man in the stump. Create a new layer called Shadow and place it between the man and the stump layer.
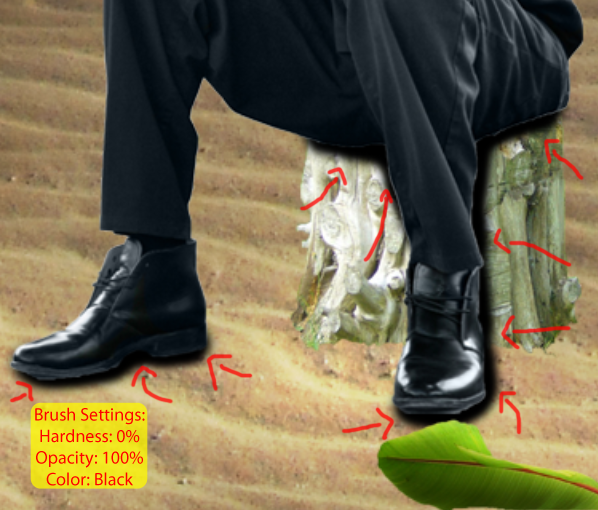
Select a soft brush (Shortcut: B) and start painting with black some
contact shadows in the stump and the desert (see image below).
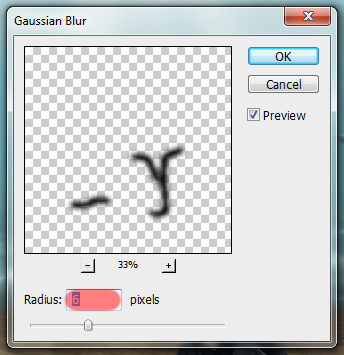
Then go to Filter > Blur > Gaussian Blur and set the radius to 6px.
Here is the result:
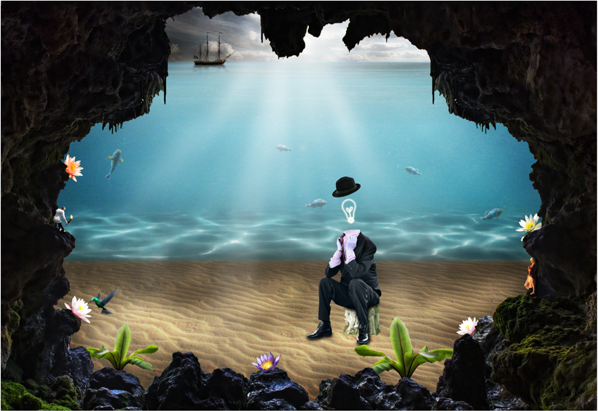
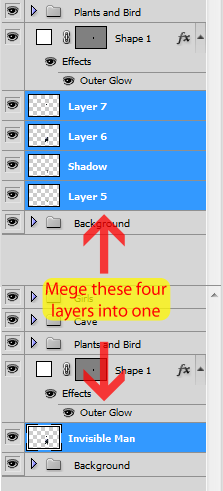
Now let’s add some lighting to these layers. Merge (Ctrl/Cmd+E) them into one new layer called ‘Invisible Man’.
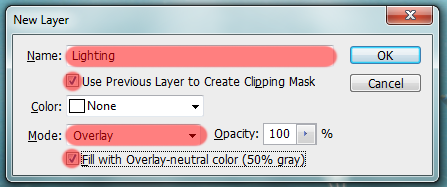
Create a new layer hitting Ctrl/Cmd+Shift+N and set this values:
Select the Dodge Tool (Shortcut: O) with Range at Midtones and
Exposure at 50% and start making the lighting of the invisible man.
- Think about how the sun would affect him
- Improve the contact shadows of the man in the stump
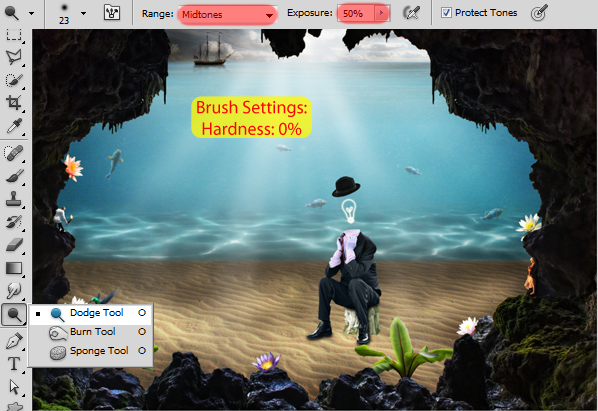
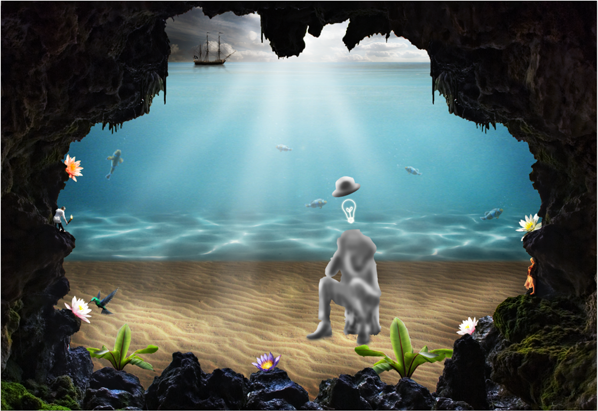
Here is my finished lighting of the invisible man in normal mode for reference.
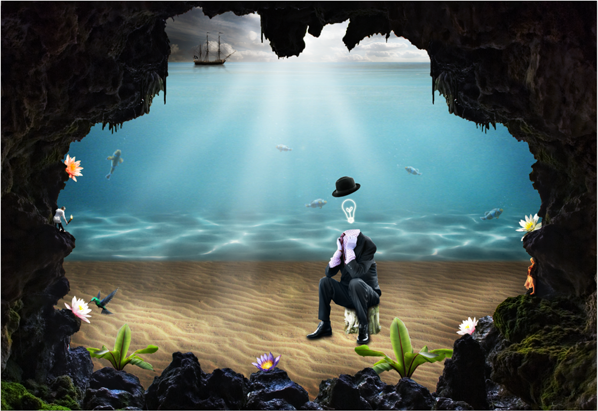
And here is my actual result:
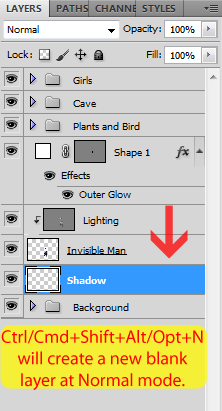
To finish this step, let’s add more shadow in the desert. Create a
new layer pressing Ctrl/Cmd+Shift+Alt/Opt+N and place it below our
‘Invisible Man’ layer. Name this new layer Shadow.
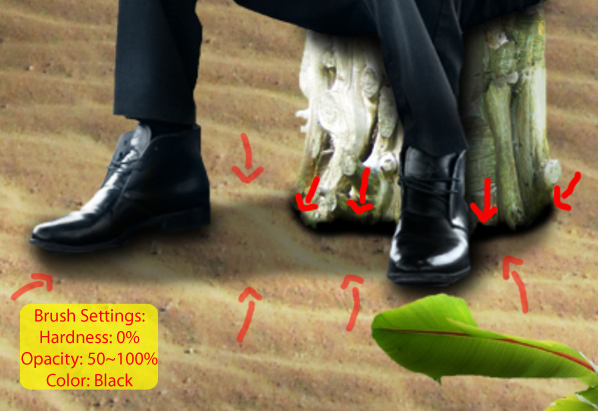
Select a soft brush with the black color and start painting the areas shown below.
- Stronger arrows mean 100% opacity
- Lighter arrows mean 50% opacity
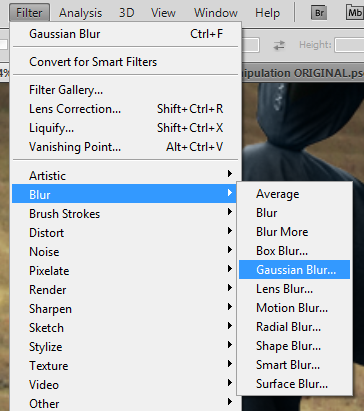
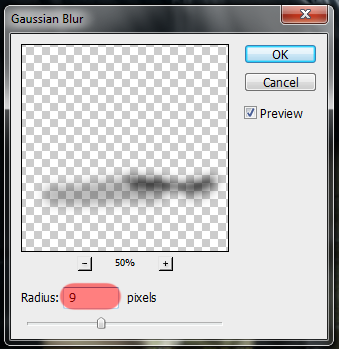
As usual, we’ll add a Gaussian Blur to make the shadows look more
natural. Go to Filter > Blur > Gaussian Blur and set the radius to
9px.
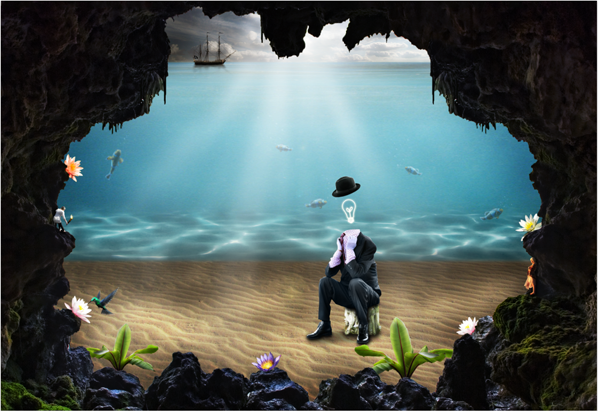
And here is the result:
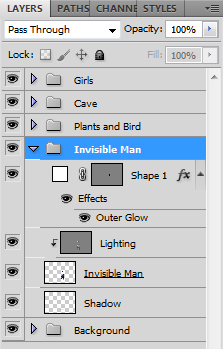
Last thing to do here is to group the layers we created in this step in a new group called ‘Invisible Man’.


0 comments:
Posting Komentar